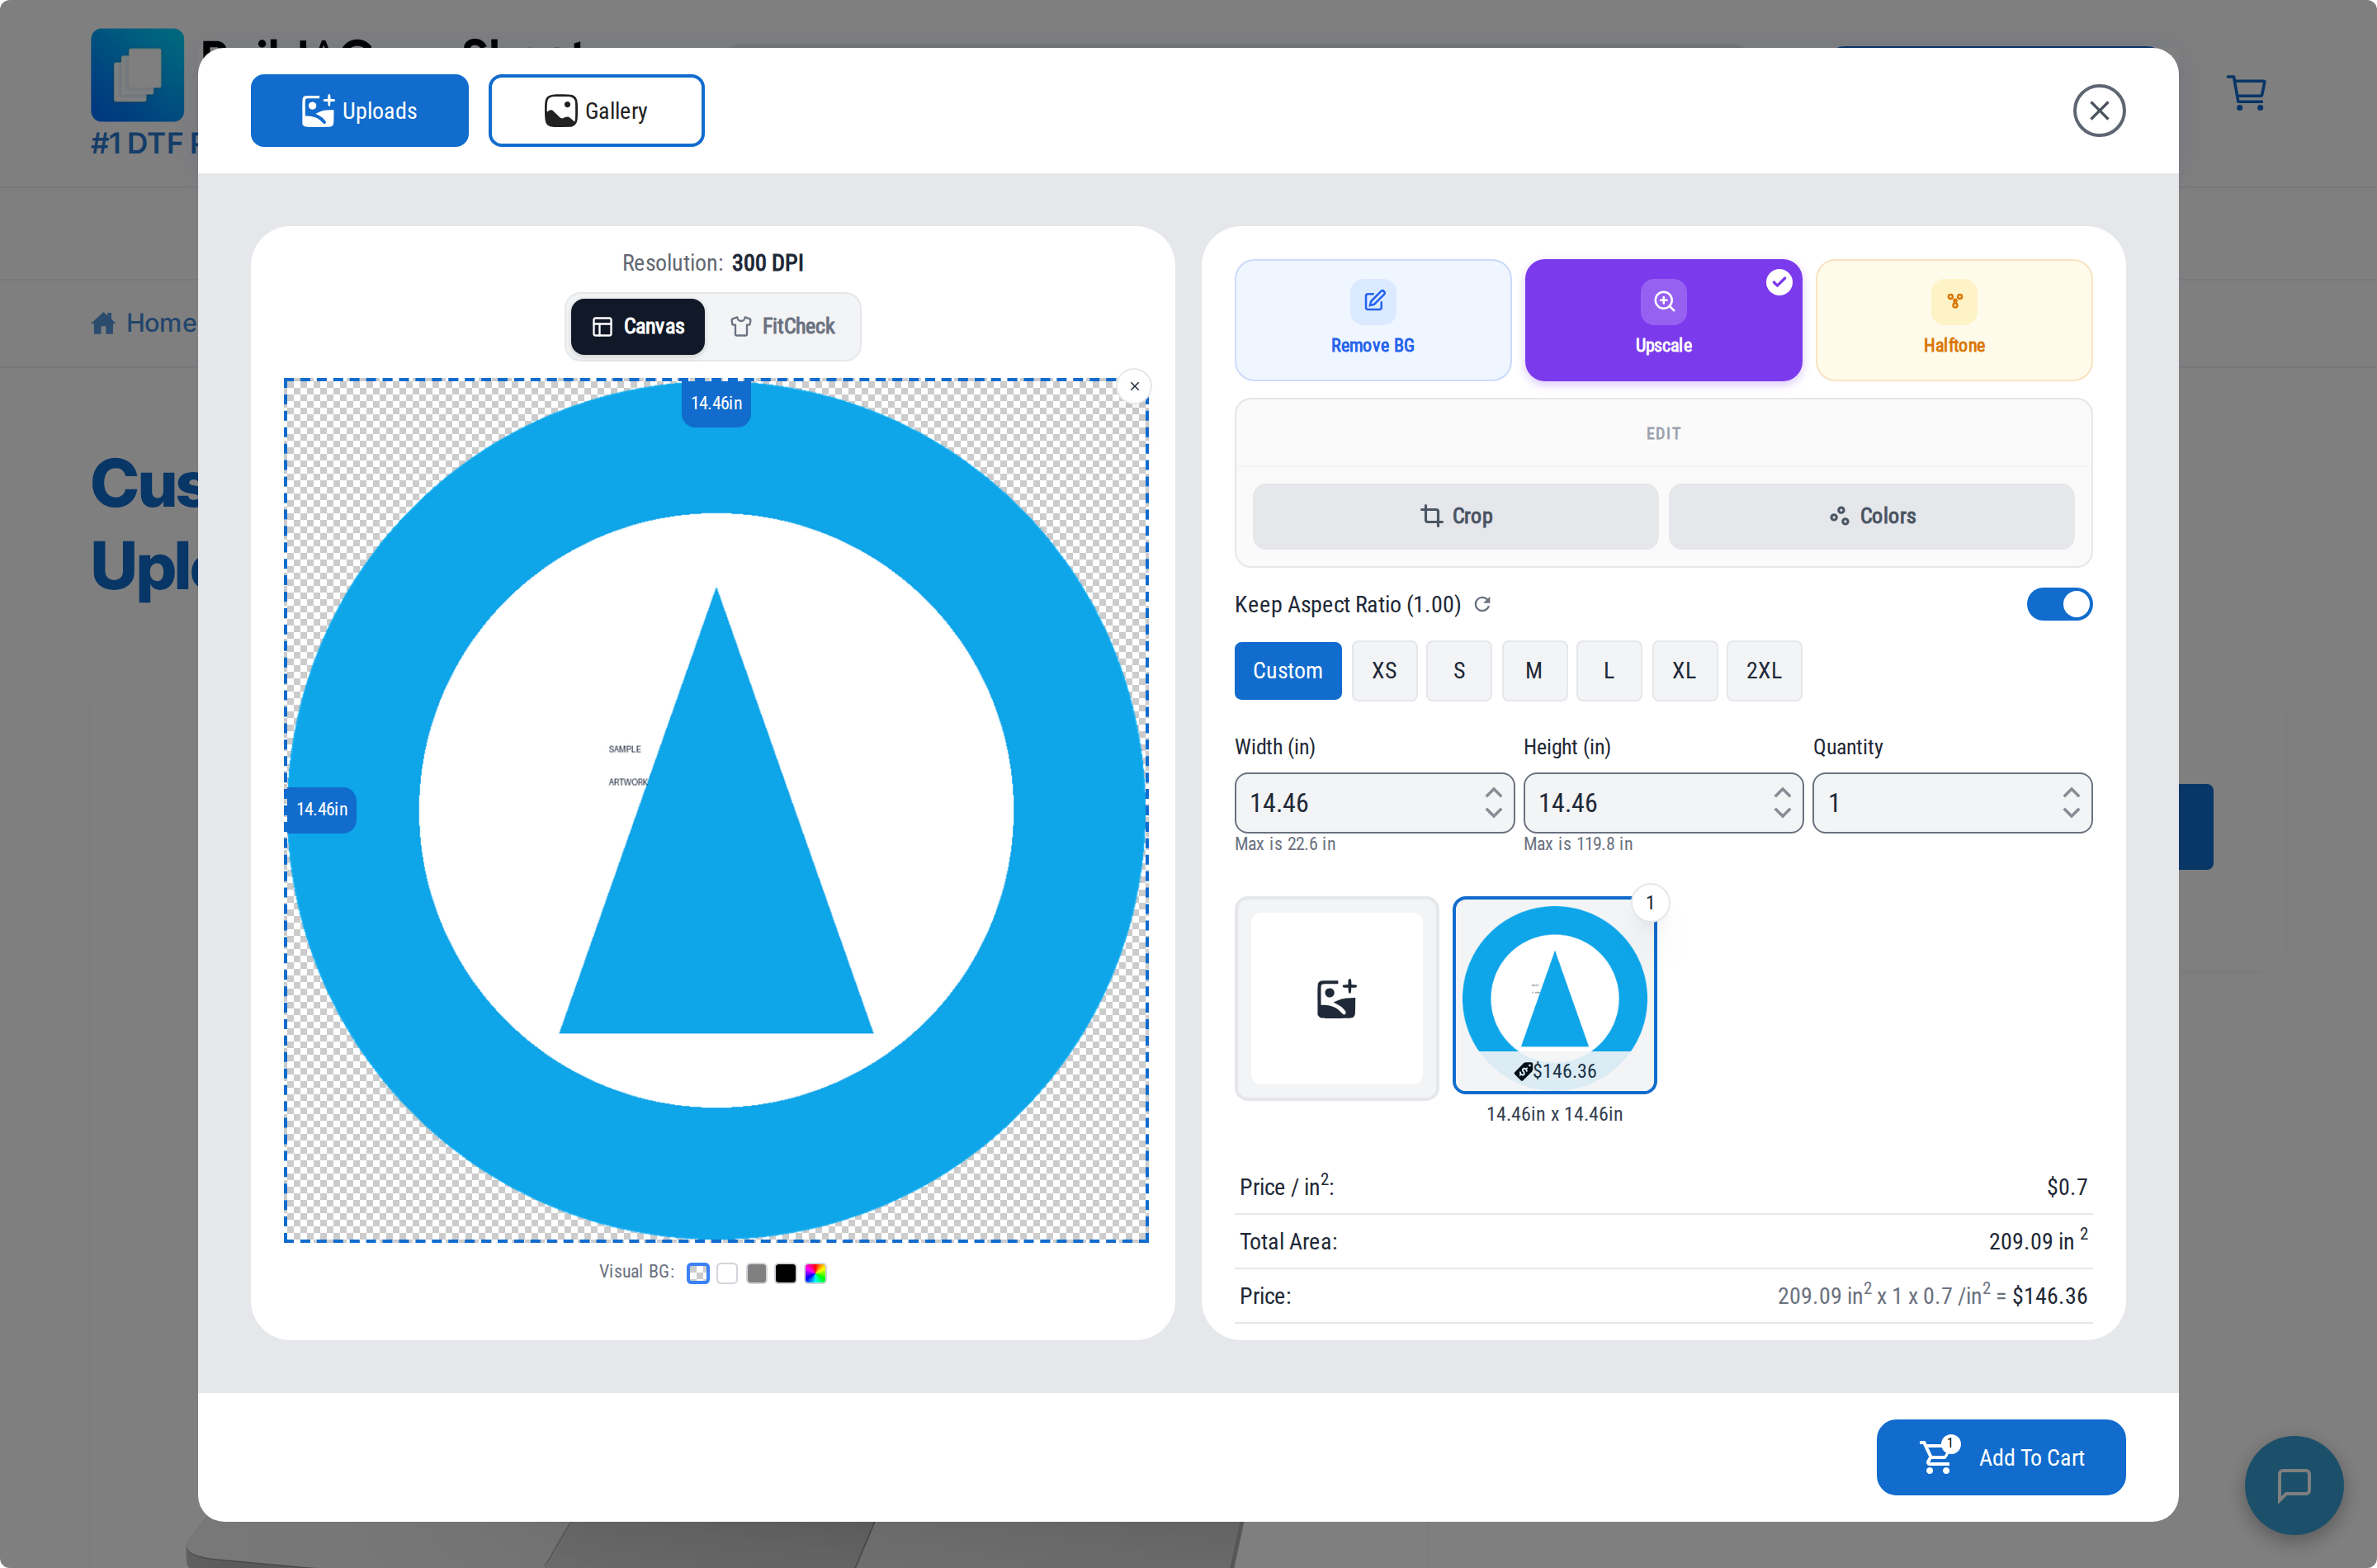
Everything in the Upload by Size window starts with getting a file in. You can upload from your device, pick from a gallery your printer has published, or reuse something you uploaded before.
Before You Start
Sign in first. Signing in adds the Uploaded Files tab, which is the only way to reuse artwork from an earlier visit, and it attaches the order to your account.
Upload From Your Device
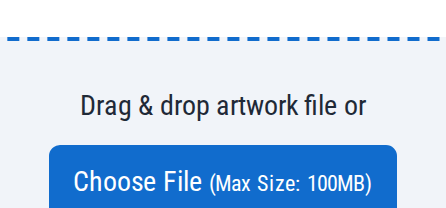
- On the Upload Files tab, click Choose File, or drag your files onto the dashed upload area.
- Select one or more files and confirm. Each file uploads in turn and shows a percentage while it works.
- The first design opens in the preview on the left with its size controls on the right.
The window lists the file types your printer accepts, and the 100 MB limit, directly under the upload button.
Each file must be 100 MB or smaller, and you can select at most 20 files at a time. Larger files are rejected by name, and if you select more than 20 the window uploads the first 20 and tells you how many it skipped.
Which File Types Are Accepted
Your printer chooses which of seven types their store accepts: PNG, WEBP, JPG, SVG, PSD, AI/EPS, and PDF. If they have not narrowed the list, the window accepts SVG, JPG, and PNG. Whatever they have chosen is listed under the upload button as "Files supported".
PDF, AI, and EPS files are converted to vector artwork when they upload, so they behave like SVG from then on. PNG and PSD files have their transparent edges trimmed off automatically, which means the width and height you see may be smaller than the canvas you exported.
Use the Gallery or an Earlier Upload
- Click the Gallery tab to browse the artwork your printer has published, if they have turned the gallery on. Search or pick a category to narrow it down, then click an image to load it.
- Click the Uploaded Files tab to see everything you have uploaded before. Click one to load it into the size panel again.
Gallery images cannot use Remove Background or Upscale Quality. Those toggles are hidden once a gallery image is loaded.
Add More Designs to the Same Order
- Set up the design you are working on, including its width, height, and quantity.
- Click Add More in the thumbnail strip at the bottom of the panel.
- Choose the next file. It becomes the active design, and the previous one stays in the strip with its own size and quantity.
- Click any thumbnail to go back and change that design. The number in the corner of each thumbnail is its quantity.
- Click Add To Cart once every design in the strip is set up. Everything in the strip goes into the cart together.
A thumbnail with a red border is one you uploaded but have not opened yet, so its size is still whatever the window guessed from the file. Click it and set the width and height before you add to cart.
If an Upload Fails
The window shows a red message naming the file. A file over 100 MB and a file type your printer does not accept are the two common causes, and both are named in the message. If a file fails for any other reason, its slot is removed and you can try again.