
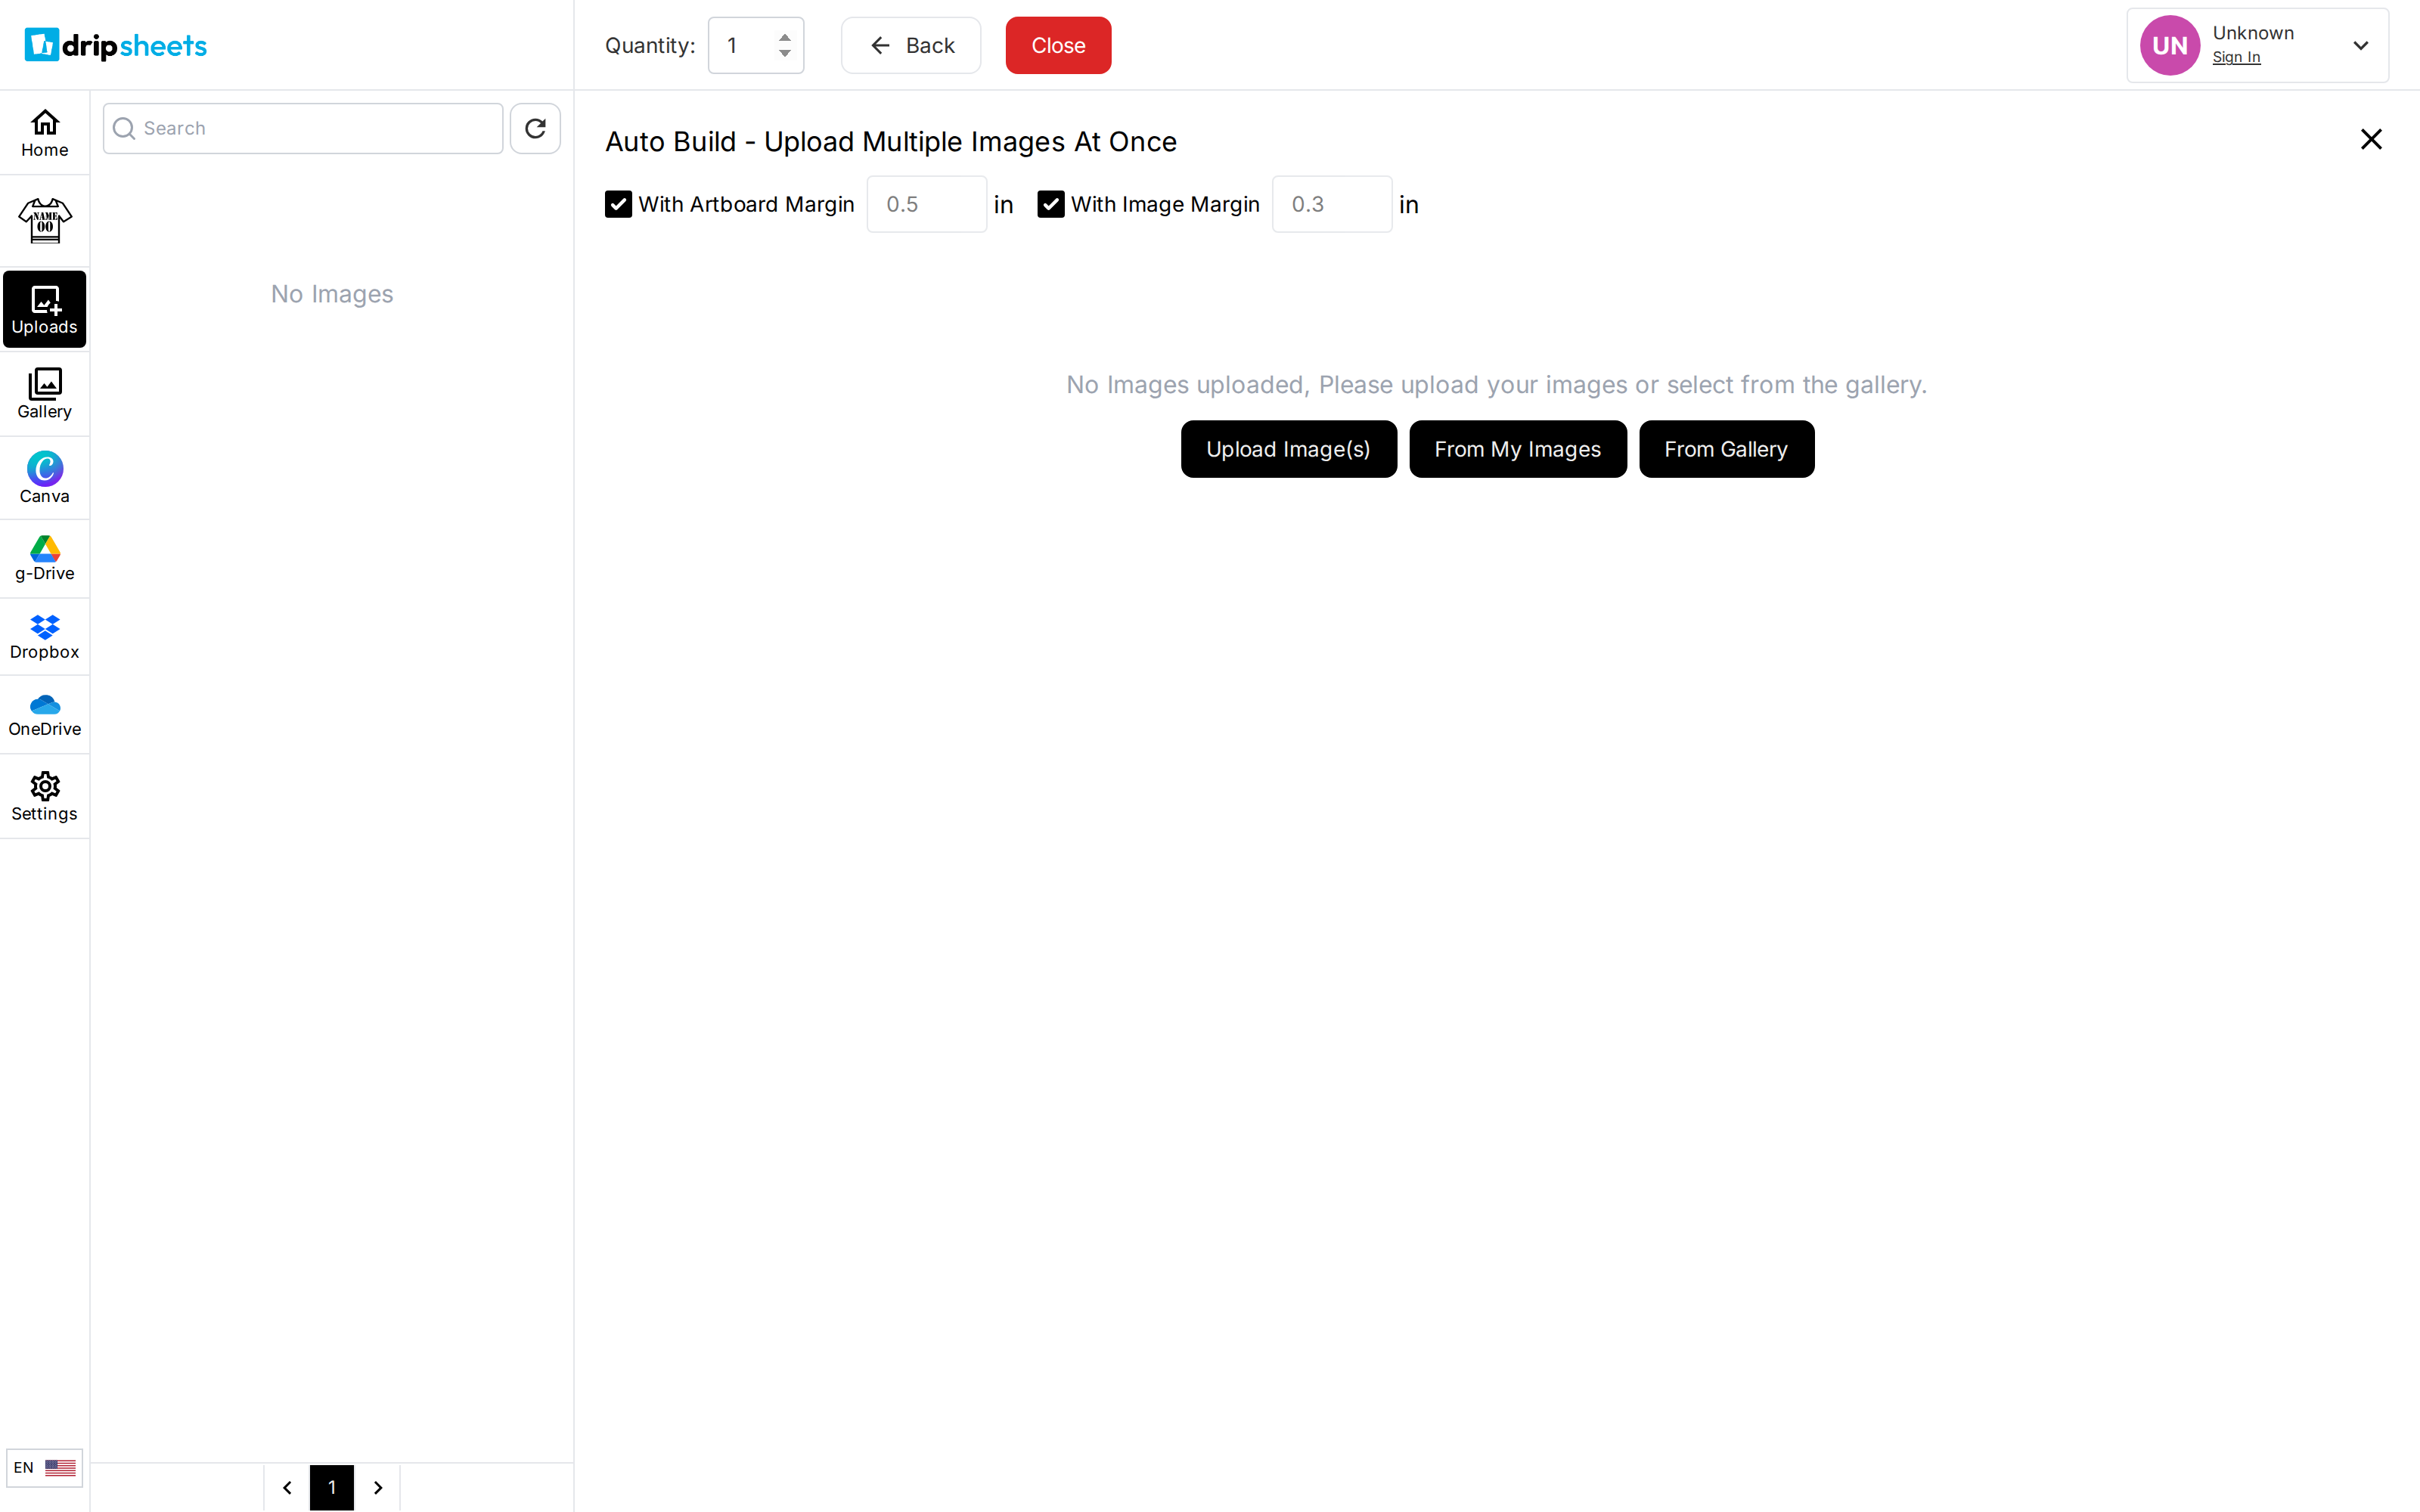
Auto Build is for orders with a lot of different designs on them. You add every design to a list, set each one's printed size and quantity, and the builder packs them onto sheets for you — choosing the layout, spilling onto extra sheets when it needs to, and showing you the result before it commits.
It is the opposite of the standard builder, where you place each piece yourself.
Before You Start
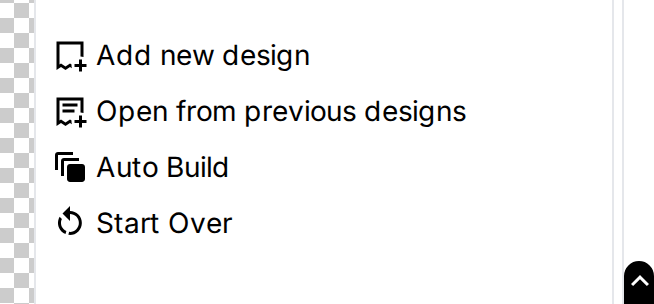
Open Auto Build from the Auto Build option on the welcome screen, or from the working designs list once you are in the builder. Some shops open the builder straight into it.
If you cannot find it, one of these is true: the shop has turned it off, you are viewing or editing an existing order, the product asks for an exact number of uploaded files, or the product uses a sticker or pattern layout rather than a plain gang sheet.
Auto Build and Auto Fill Sheet are different tools. Auto Fill Sheet takes one design already on your sheet and repeats it to fill the space. Auto Build takes many different designs and works out a whole layout from scratch.
Add Your Designs
The panel opens on an empty state reading "No Images uploaded, Please upload your images or select from the gallery." with up to three buttons:
- Upload Image(s) — pick files from your device.
- From My Images — reuse artwork you have already uploaded. Hidden if the shop has disabled uploads.
- From Gallery — pick from the shop's design library. Only shown if the shop publishes a gallery.
The builder's tool rail stays open beside the panel, so you can also add images through the Canva or Dropbox tabs if the shop offers them. Anything you add from anywhere lands in the Auto Build list.
Set Each Design Up
Every design gets its own card in the list.
- Set Width and Height to the printed size you want. Tick Lock Aspect Ratio to keep the proportions while you change one of them.
- Use the minus and plus buttons, or type into the box between them, to set the quantity.
- Check the quality badge on the card. It reads Optimal, Good or Bad with the design's dpi beside it, and shows Minimum if the shop refuses to print below a floor. Reduce the size if it reads Bad.
- Use Duplicate to copy a card when you want the same artwork in two different sizes, and Remove to drop one.
- Depending on what the shop has enabled, cards may also offer Remove Background, Upscale, FitCheck, StyleLab and PressCheck.
Two margin controls sit at the top of the panel:
- With Artboard Margin — the clear border kept around the edge of each sheet.
- With Image Margin — the gap kept between designs.
Both take a number in your sheet's unit and can be turned off with their checkbox. The shop can lock either one, in which case it is greyed out.
Set the image margin before you click Apply, not after. It is part of the packing calculation, so changing it later means running Auto Build again.
Choose a Layout
If the shop has given you the choice, an Auto Nest Layout picker appears with two options:
- Standard — "Packs tightly in every direction for the least wasted film."
- For Cutting — "Groups images into rows so cuts run across the full width."
Pick For Cutting if you are going to cut the roll into strips by hand. Pick Standard if you want the least film used.
Apply and Confirm
- Click Apply. The builder works out one or more ways to pack your designs.
- If there is more than one sheet size worth offering, a Preview screen appears listing each option as a radio button, with a to-scale rendering of the sheets it would produce and how many of each variant.
- Choose the option you want. Click Back & Adjust to go back to the list and change something.
- Click Continue to build the sheets.
If only one sensible option exists, most shops skip the preview and go straight to the finished sheets. Your artwork is spread across as many sheets as it needs either way.
Limits
- The total quantity across all designs cannot exceed 6000. Beyond that you see "The total number of images has exceeded its limit."
- There is also a cap on total printed area. Exceeding it gives "The auto-generation request has exceeded its limit." Split the order into two runs if you hit it.
- A design larger than the sheet is shrunk to fit when you add it. If nothing can be packed at all you see "The entry image size is too large to fit inside the artboard."
- A margin checkbox left ticked with an empty or negative value is rejected with "Please enter a valid artboard margin" or "Please enter a valid image margin". Setting it to zero is fine — the builder just unticks the box for you.