
The Settings menu holds the on-screen aids that help you catch problems before you order: quality outlines, overlap warnings, snapping, margins and the background colour behind your sheet. None of them change the printed file. They change what you can see while you work.
There are two ways in, and they hold the same controls: the Settings tab in the builder's tool rail, and the gear icon labelled Settings in the toolbar above the canvas. On a phone the Settings tab is in the bar along the bottom, alongside Select, Add Image and Name & Numbers.
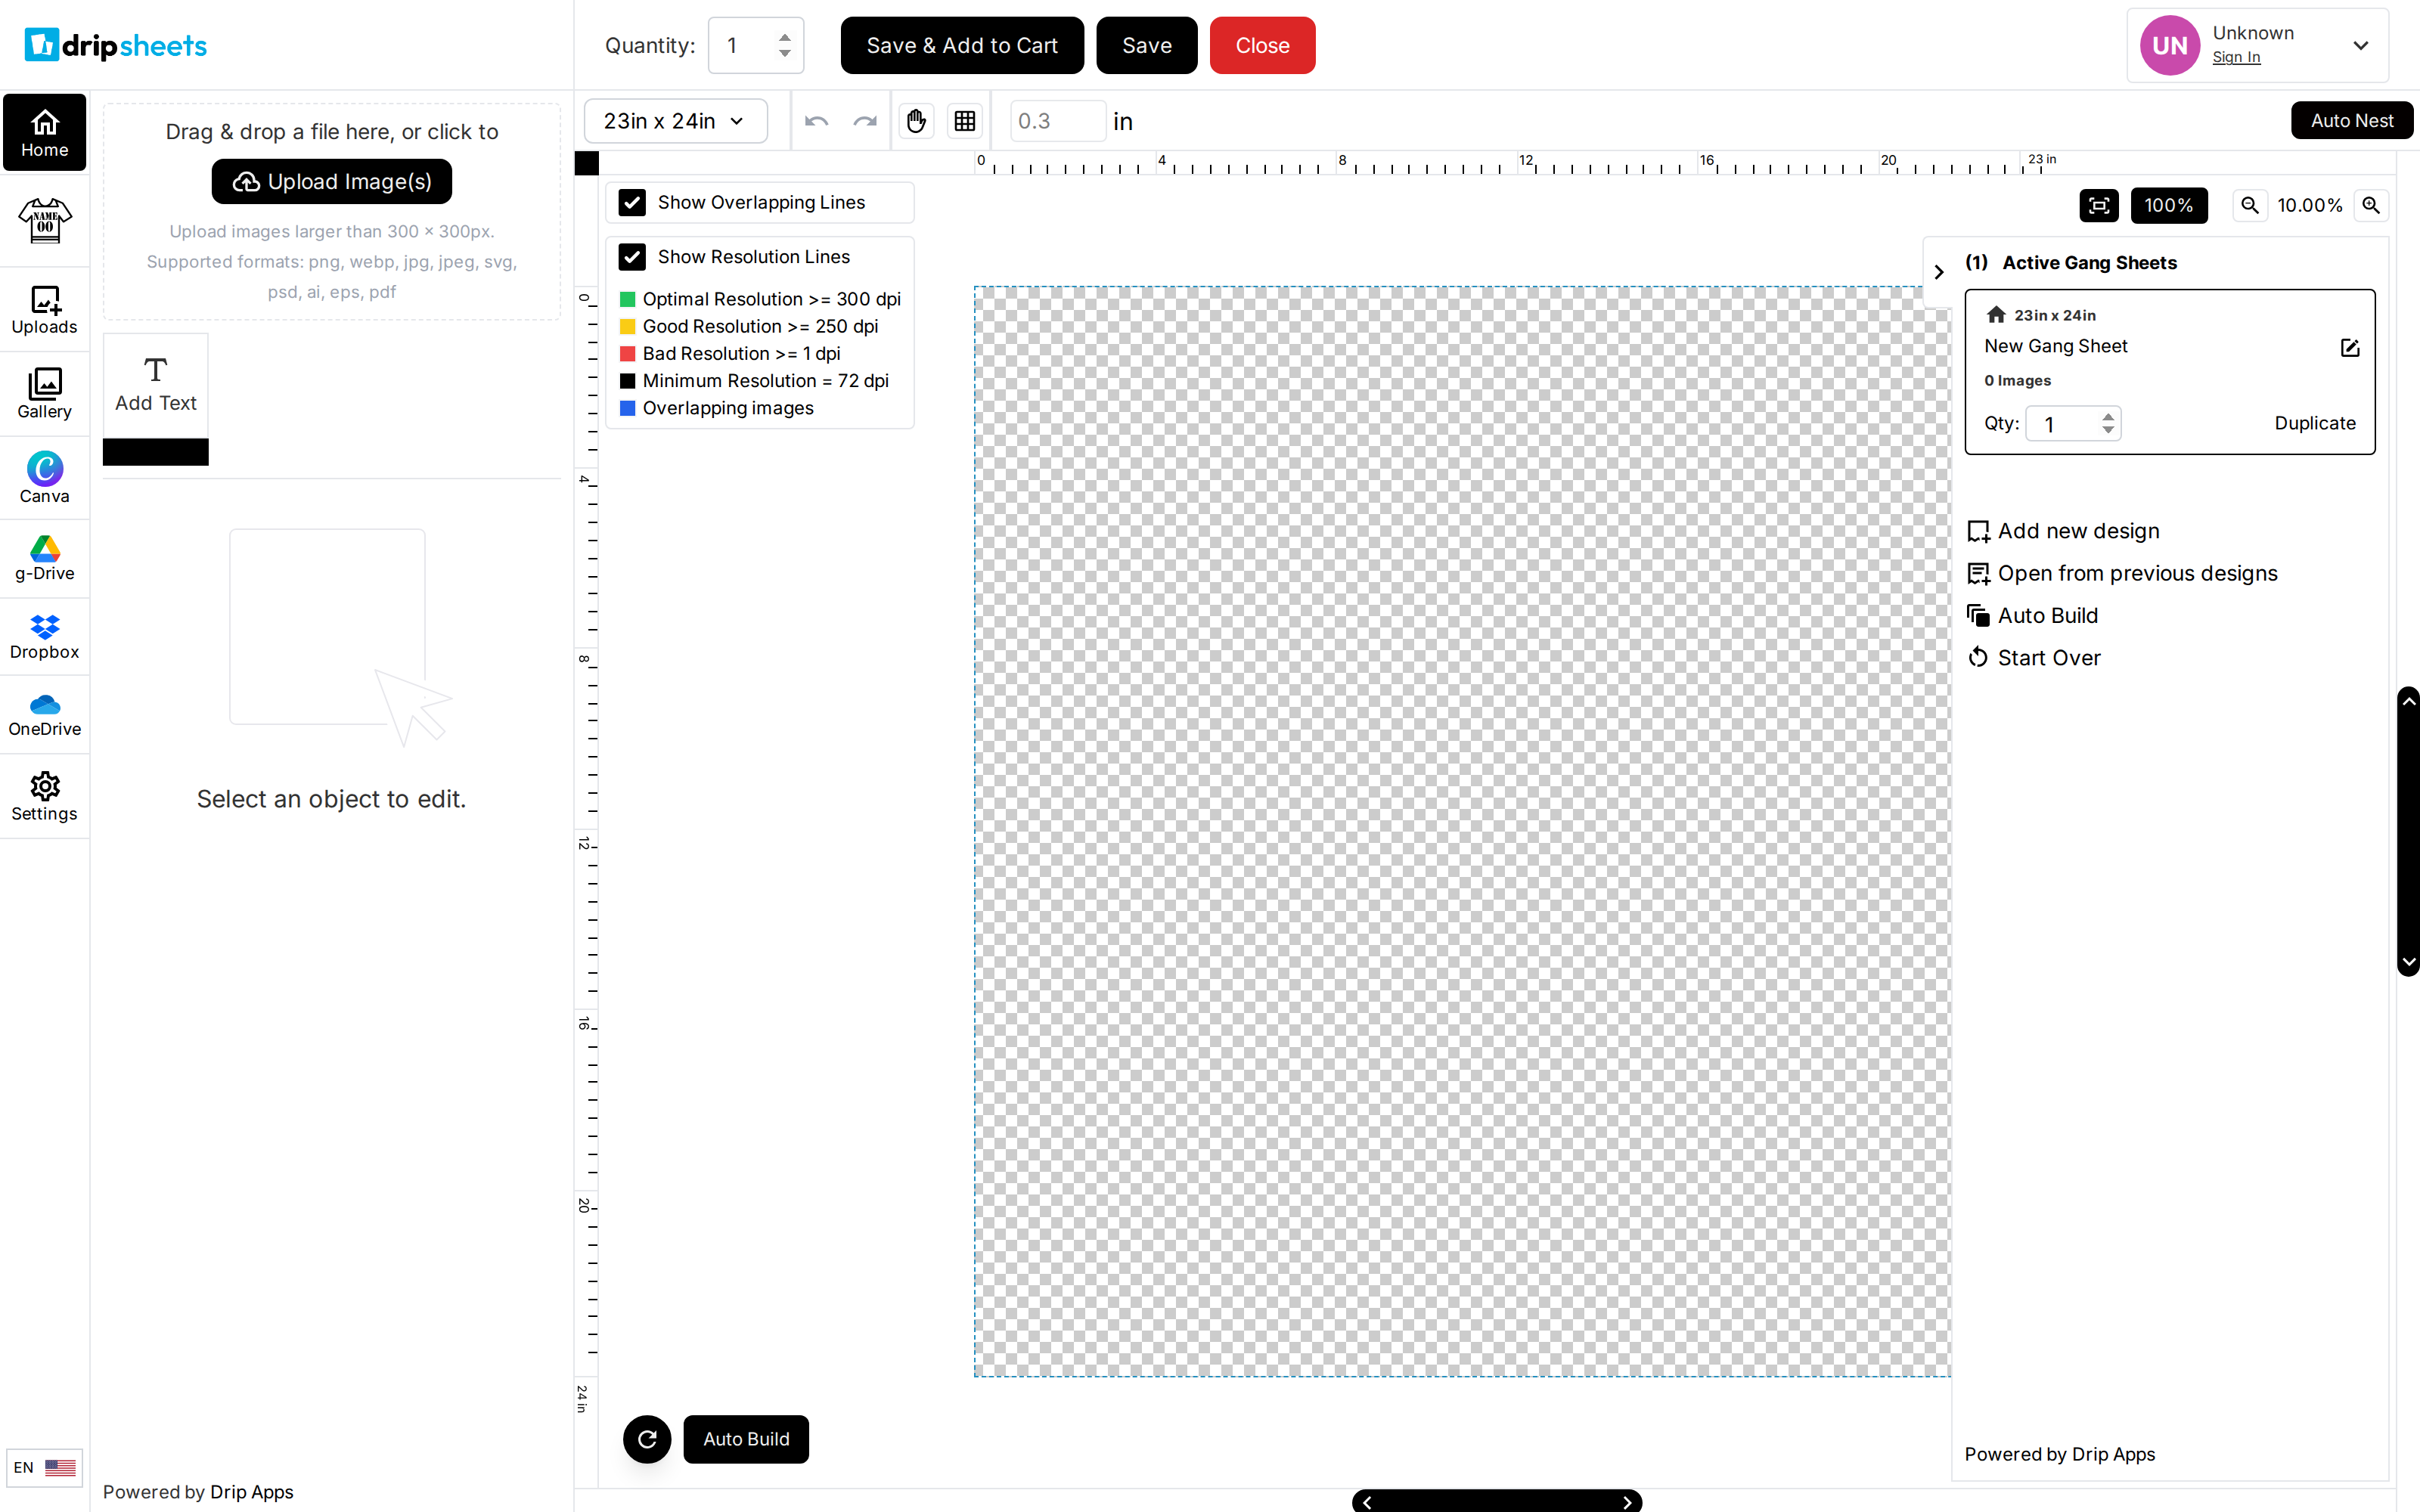
The two surfaces list the controls in a different order, so do not go looking for the third row down. Find the control by its label.
What Is in the Menu
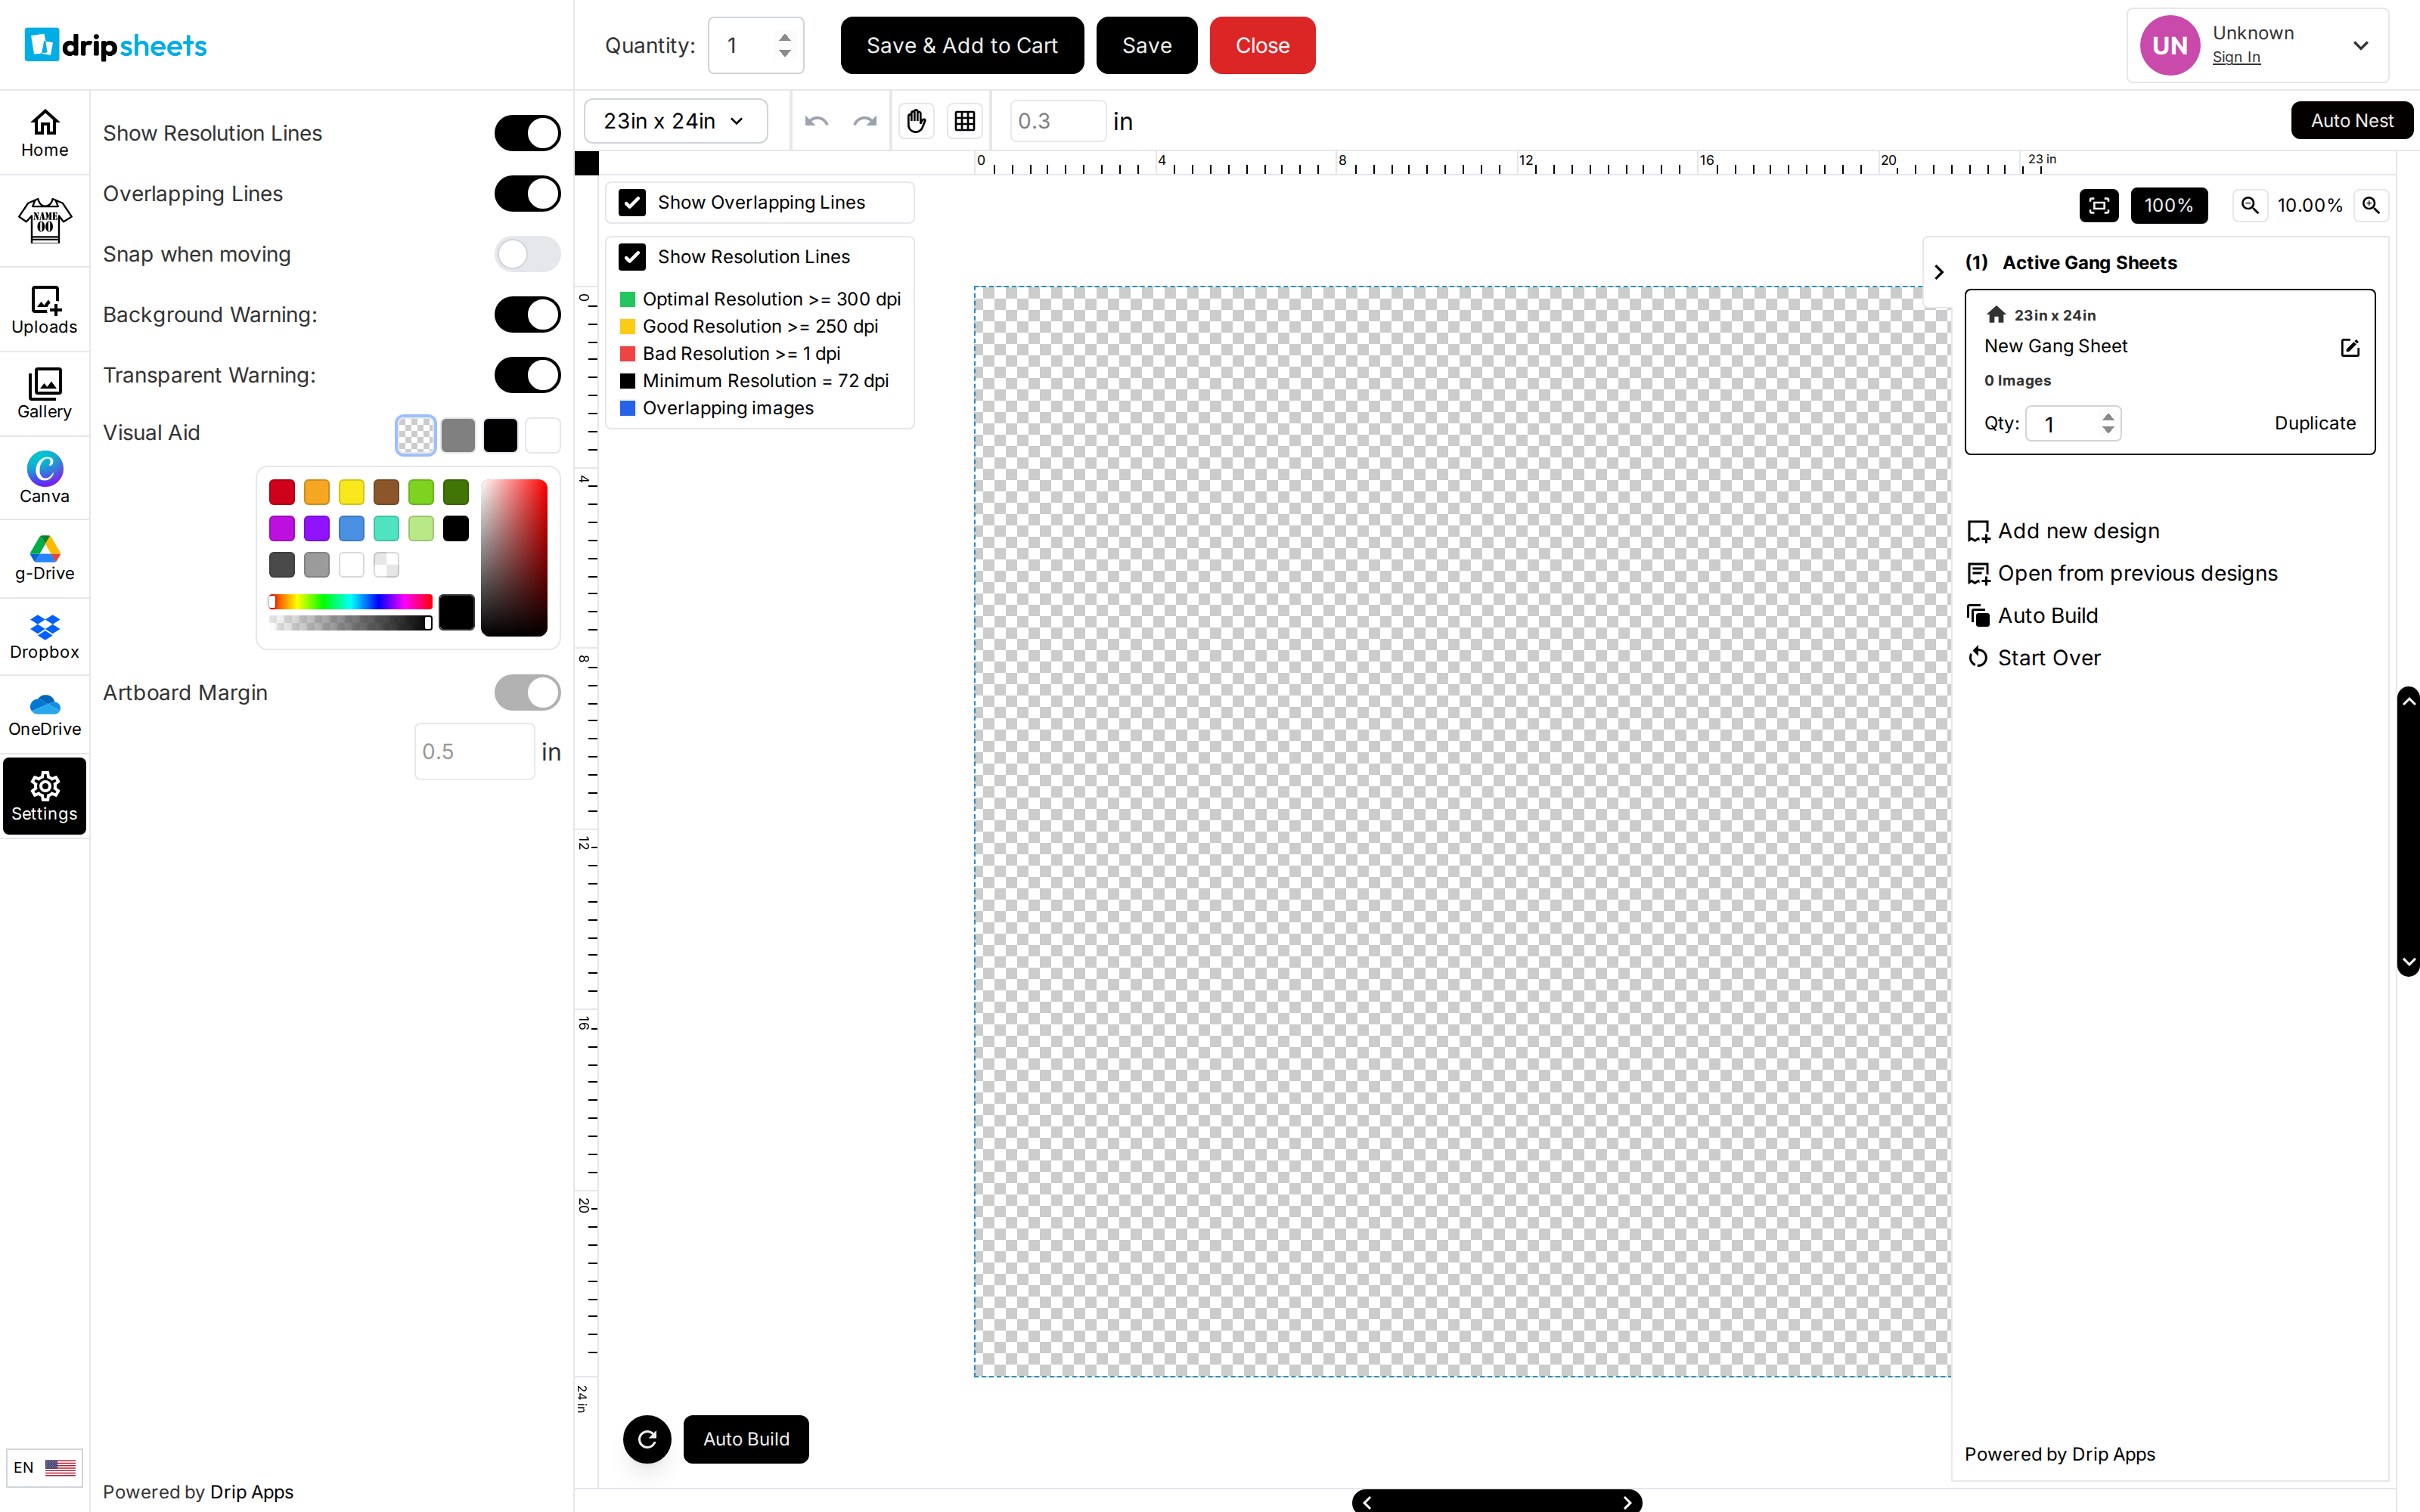
Snap when moving — starts off. Turn it on and images snap to the artboard edges and to each other as you drag, with guide lines showing what they are lining up to. Useful for even spacing, awkward if you want an image a hair off-centre.
Show Resolution Lines — starts on. Draws a coloured outline around every placed image showing how well it will print at its current size. See the article on zooming and checking image quality for what the colours mean.
Overlapping Lines — starts on. Outlines any two images that overlap in blue, and shows an "Images are overlapping" banner across the top of the canvas. The blue overlap outline replaces the resolution colour while both are on, so an overlapping image shows blue rather than its quality colour.
Artboard Margin — starts on at 0.125 in your sheet's unit, normally inches. This is the safe zone kept clear around the edge of the sheet. Untick it to run artwork closer to the edge, or type a different number.
Visual Aid — the colour shown behind your sheet. Three swatches are provided — a transparent checkerboard (the default), grey, and black — plus a fourth swatch that opens a full colour picker. This is a viewing aid only; it never prints.
Background Warning: — starts on. Warns you when an uploaded image looks like it still has a background on it. This row only appears if the shop has the background removal tool enabled.
Transparent Warning: — starts on. Warns you when an uploaded image contains semi-transparent pixels, which print unpredictably.
On a phone, a Language selector appears at the bottom of the same panel. On desktop it sits at the foot of the tool rail instead.
Image Margin is not in this menu. It is a separate control in the toolbar along the top of the builder, and it sets the gap kept between images when the builder places or duplicates them. Its default is also 0.125. It is hidden on narrow screens.
Warnings You May See
Three banners can appear across the top of the canvas:
- "Images are overlapping" — two pieces of artwork are on top of each other.
- "Design is overlapping art board. Please select a larger size." — something is hanging off the edge of the sheet.
- "To ensure image quality, you can't upscale this image any further." — the shop has set a floor on print resolution and you have reached it.
Turning Overlapping Lines off does not make an overlap safe. It only stops the builder pointing it out while you work. The same checks run again at checkout, in a Quality Check panel listing "No overlapping images", "No low-resolution images" and "No items overlapping the artboard" — and you will have to tick Print Anyway to get past them. Leave the warnings on and fix the problems while you can still see them.
The Toggle Next to a Selected Image
Selecting an image on the sheet puts a small panel in the top-left of the canvas with its own copies of Show Overlapping Lines and Show Resolution Lines, plus the resolution colour key and the selected image's exact Left, Top, Width, Height and Resolution. These are the same two settings under different labels — changing one changes the other.
If a Setting Will Not Change
Some shops lock the margin controls. If Artboard Margin or Image Margin is greyed out, the shop has fixed it for this product and it cannot be overridden from the builder.
Note for shop owners: settings resolve in three layers — the app default, your shop-wide builder settings, and then a per-product override. A product setting that has never been changed stores no value of its own and simply follows the shop setting, shown as a grey Default badge (or Inherited on the file-type list) next to the control. Because the toggle still displays the effective value, a product can look configured while actually riding the shop default — and will silently change the next time you change the shop setting. If a change you made shop-wide is not showing on one product, check whether that product carries its own explicit override rather than the Default badge.