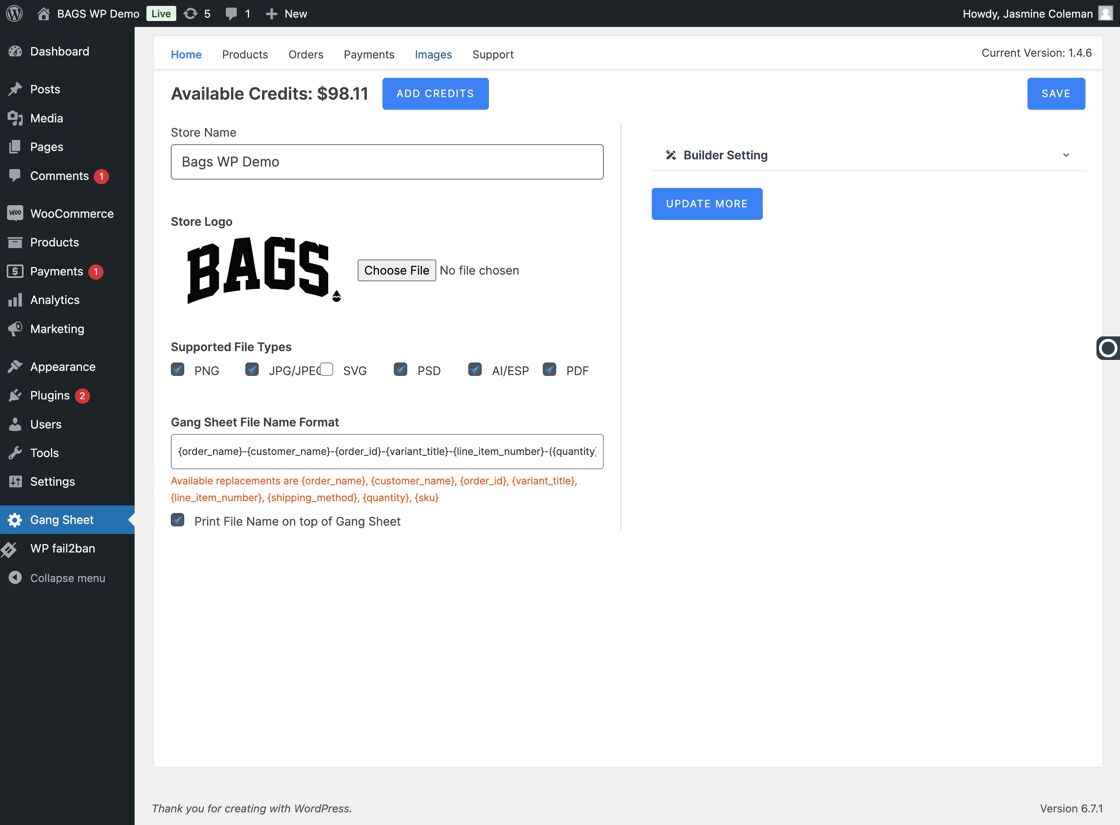
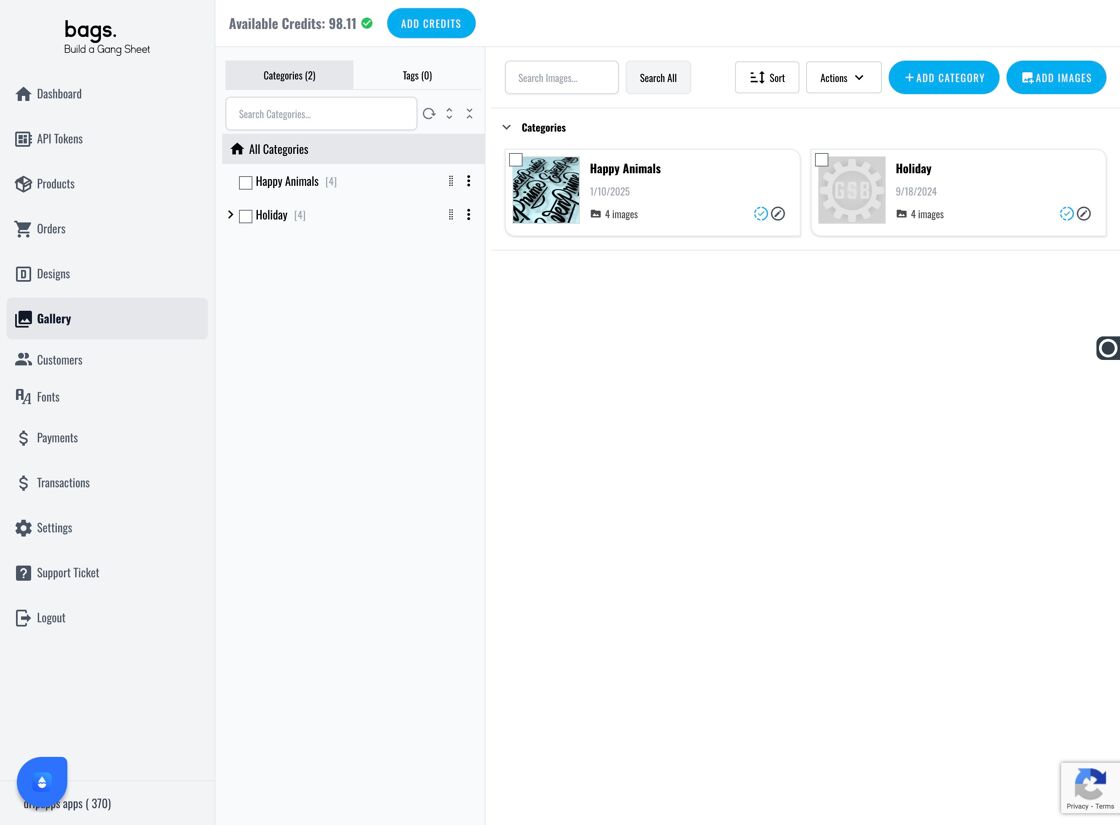
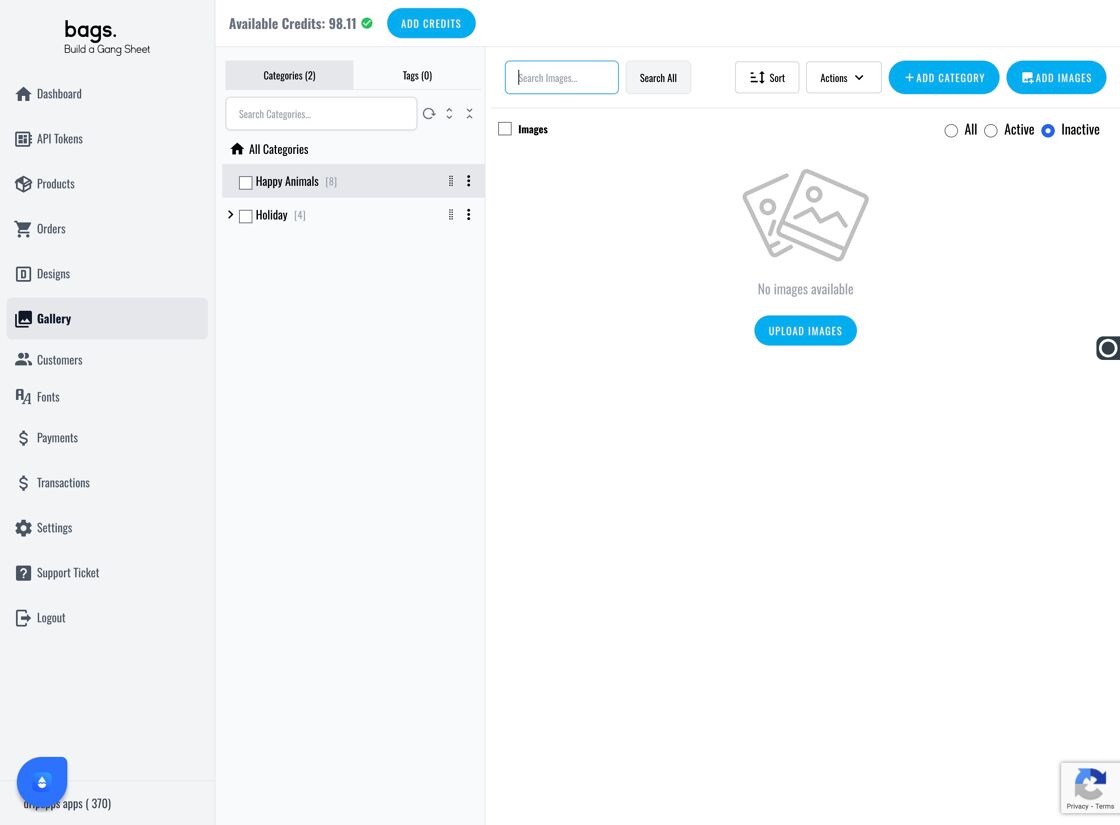
Access Image Gallery – Click on Gang Sheet to reveal the Images section.
Gang Sheet Images View
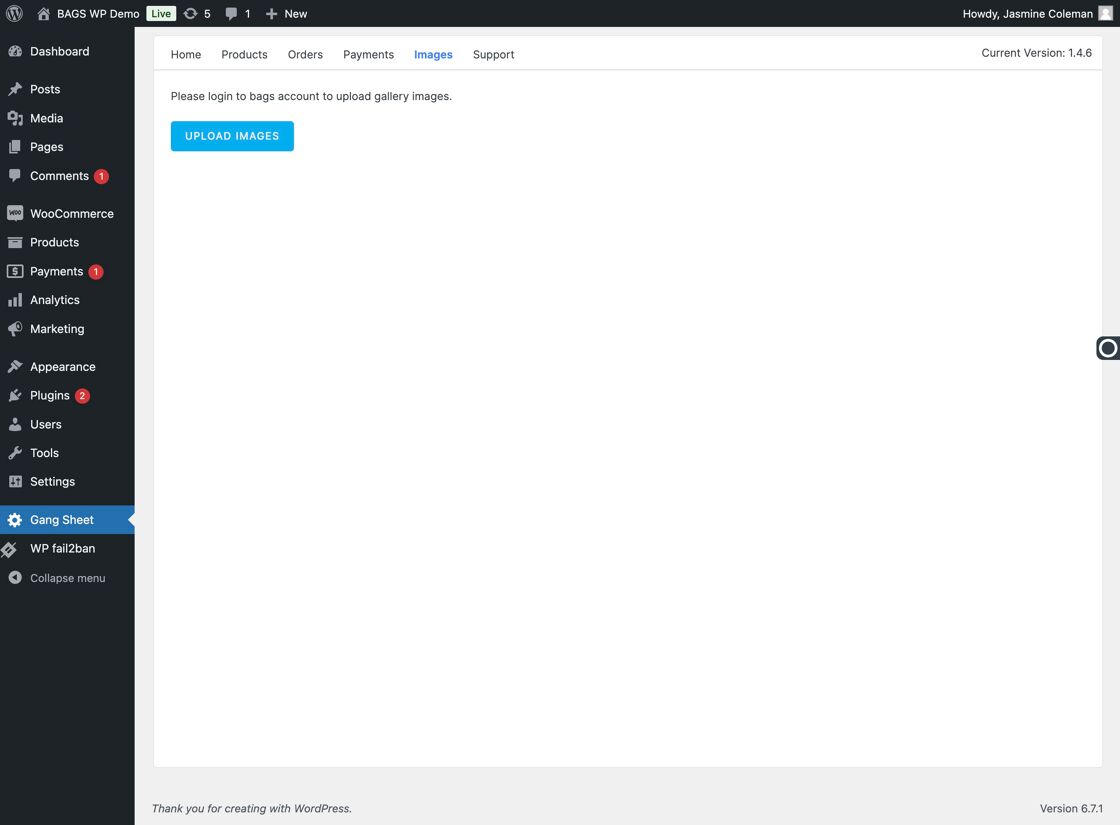
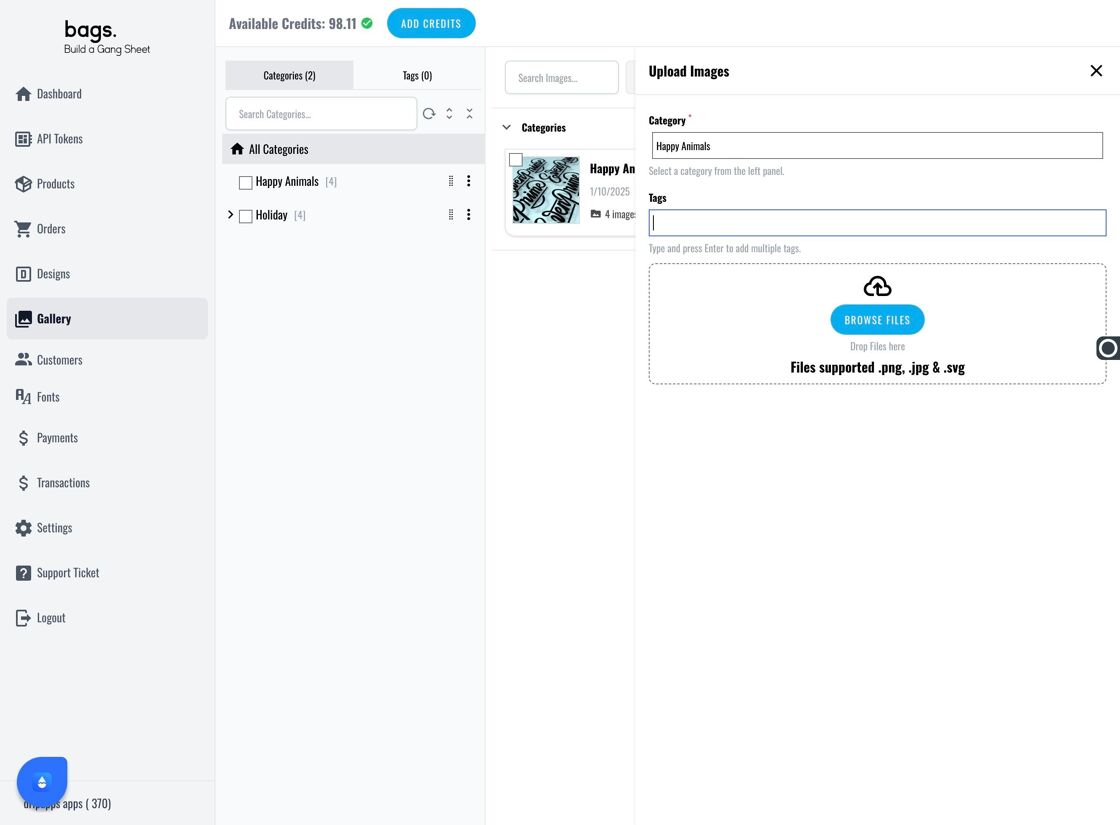
Upload New Images – Click Upload Images to begin uploading assets to make them available for customers.
Upload Images Button
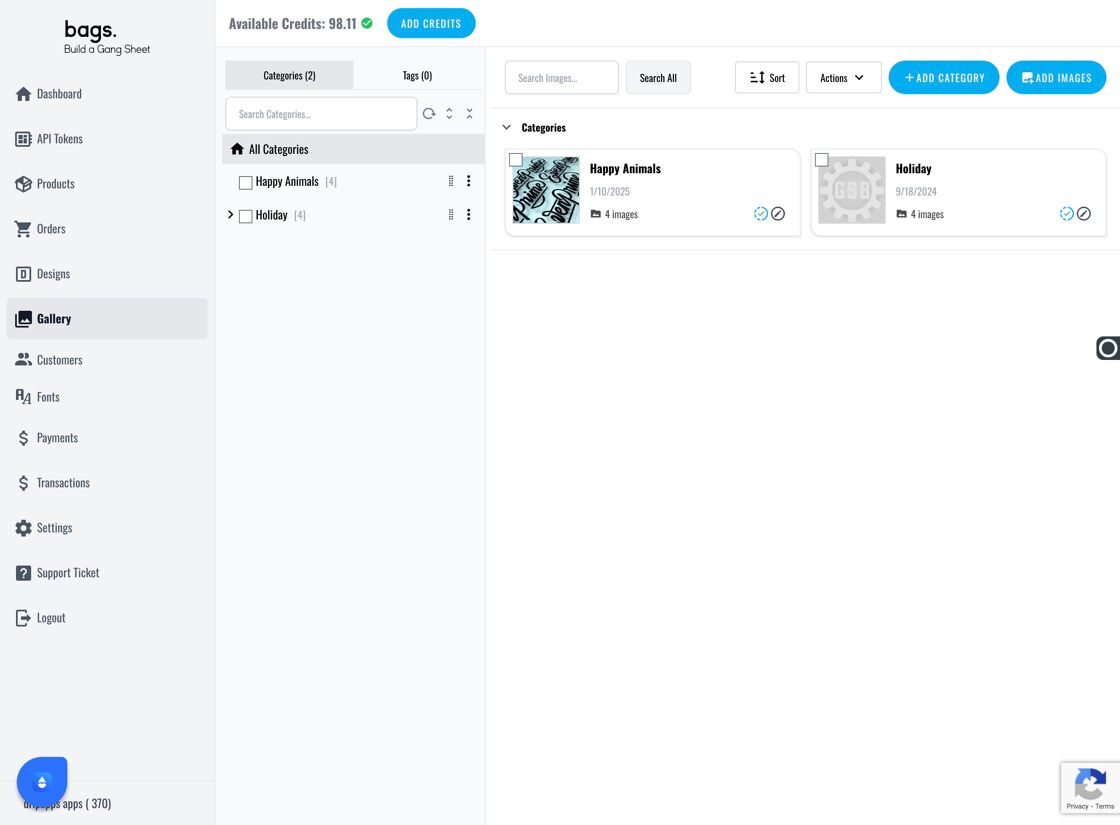
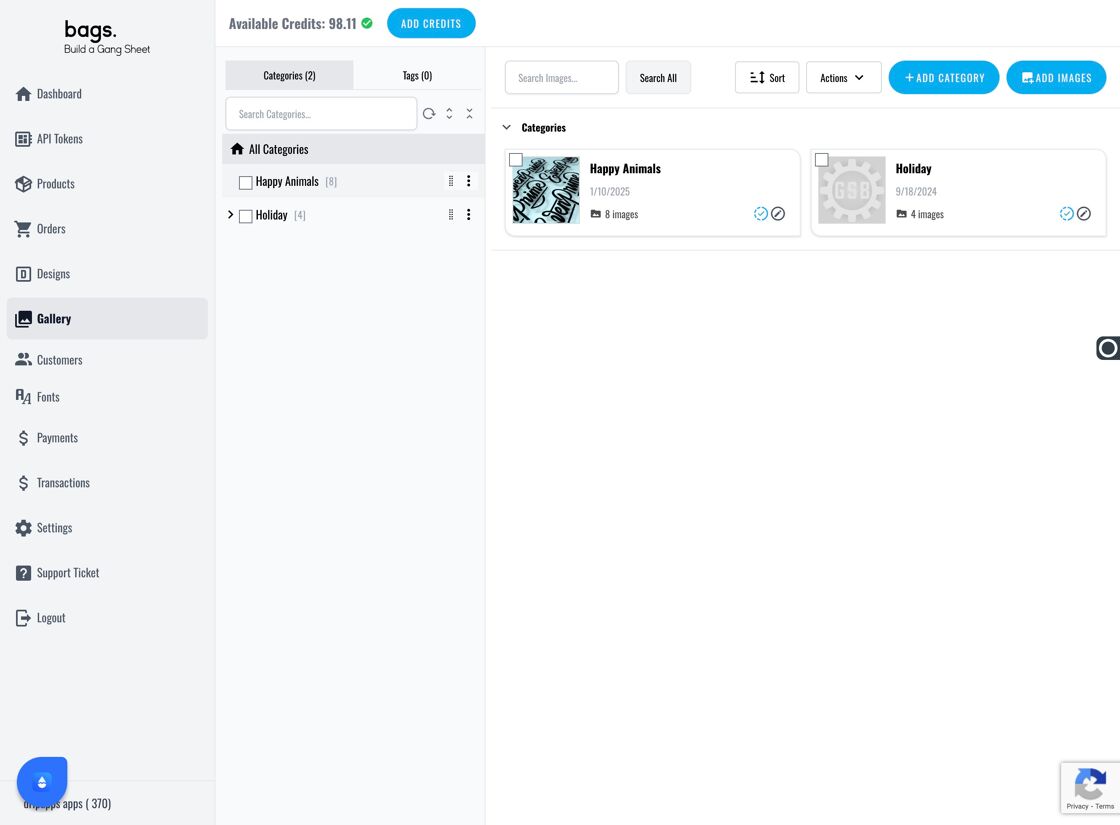
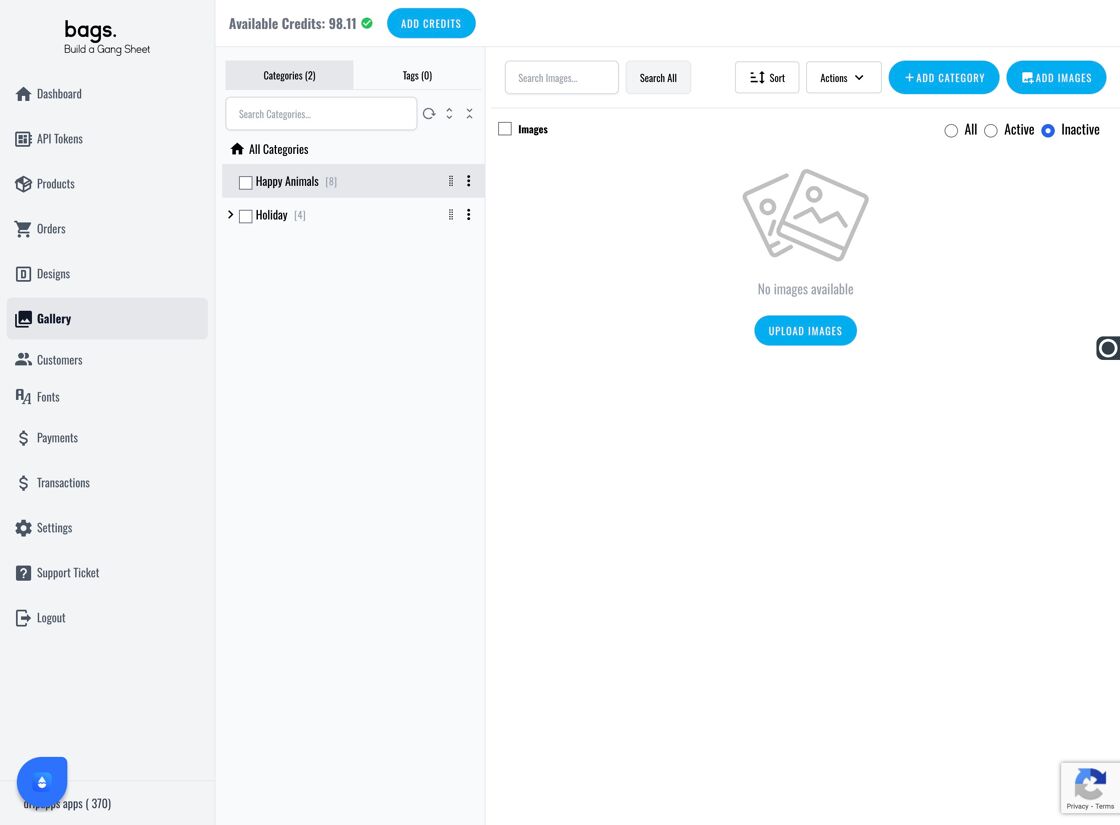
Navigate to the Gallery Tab –
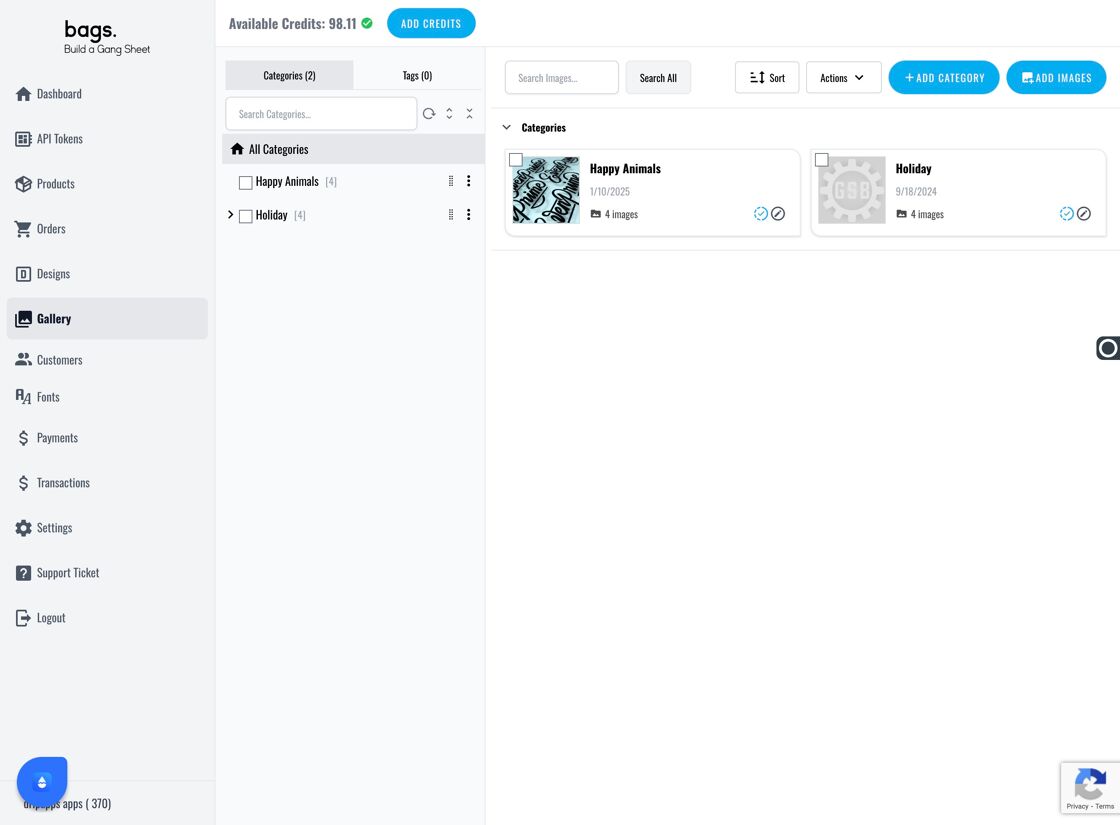
Gallery Tab Interface
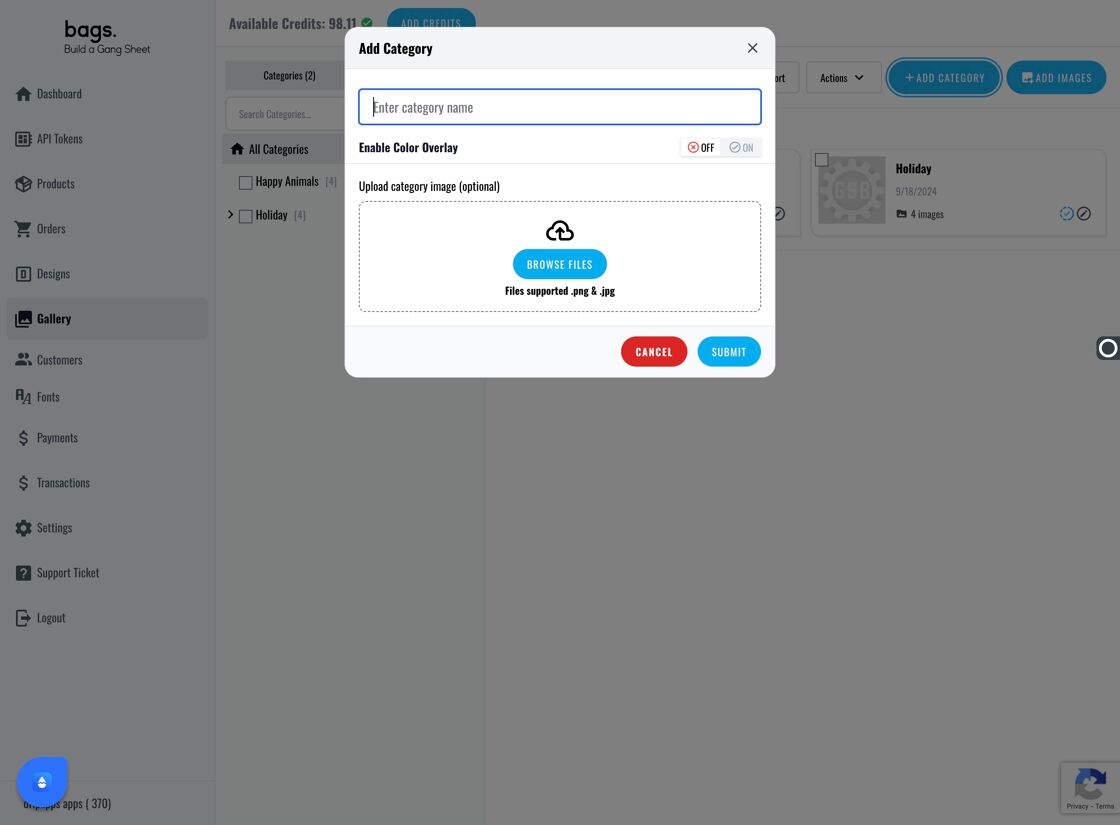
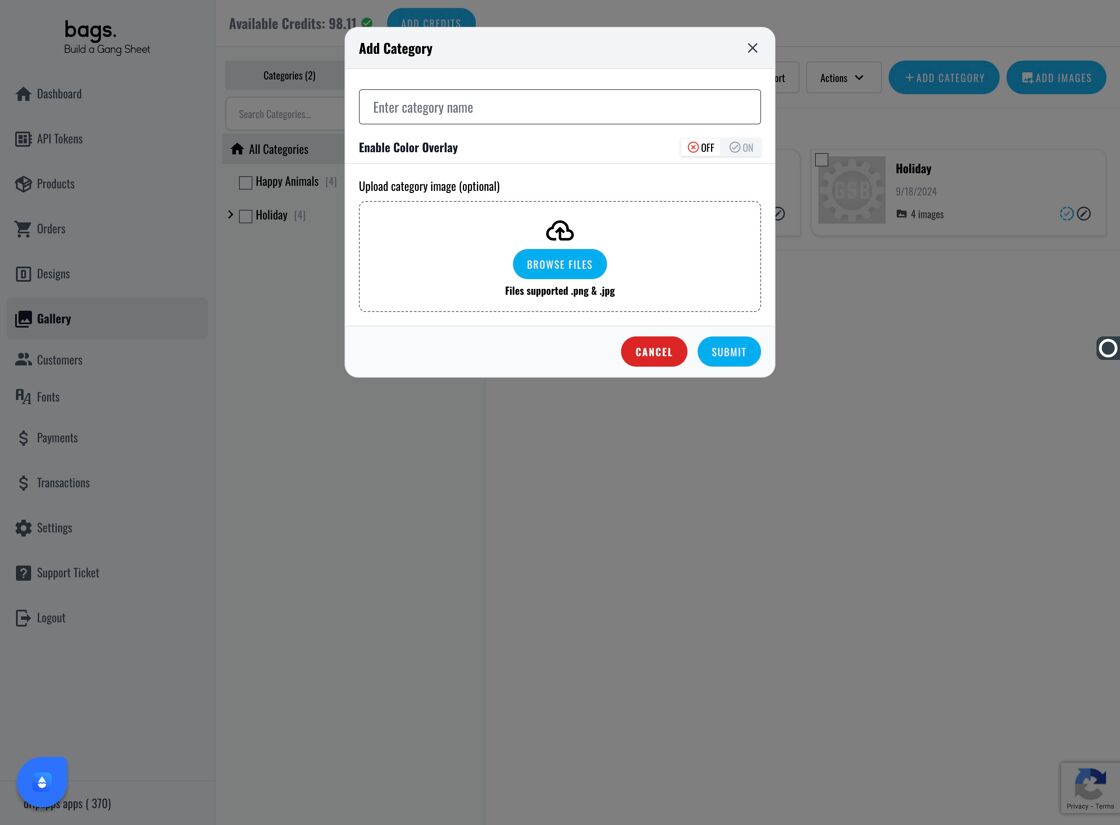
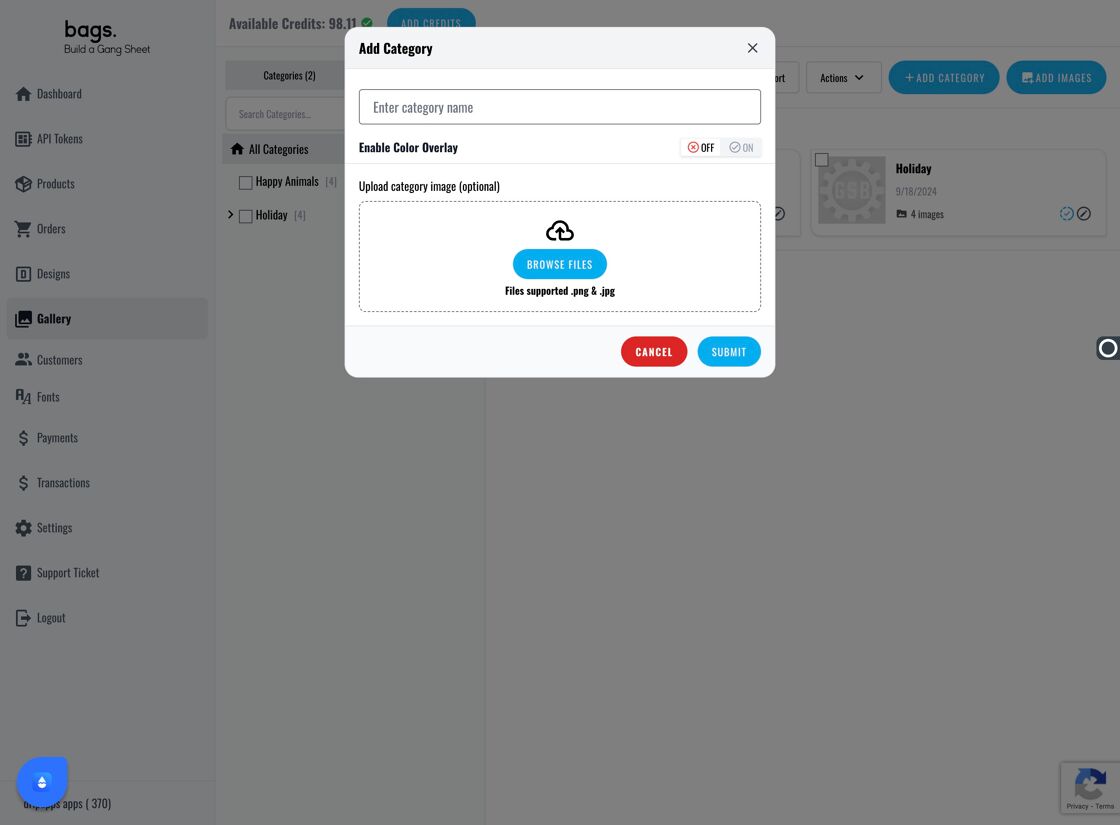
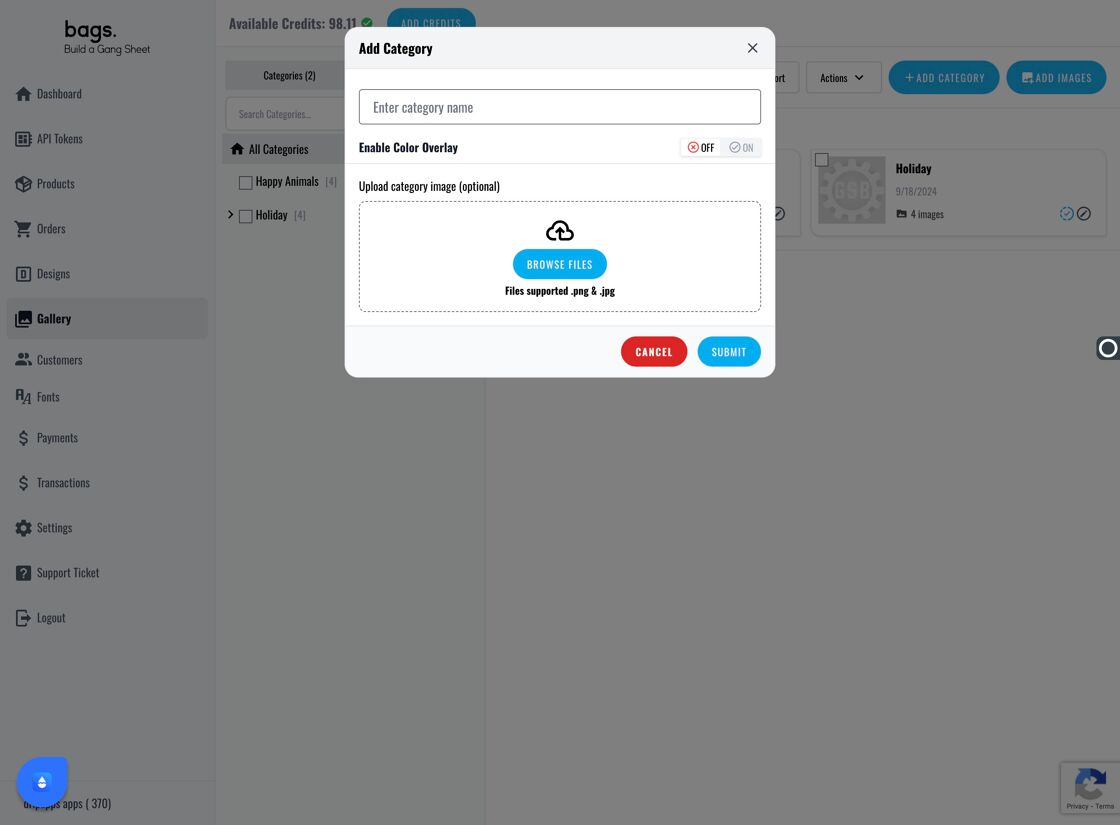
Add a Category – Click Add Category and enter a meaningful name for the group of designs.
Add Category
Category Name Field
Configure Overlay & Cover – Enable Color Overlay and select a cover image for the category.
Enable Overlay
Select Cover Photo
Submit Category
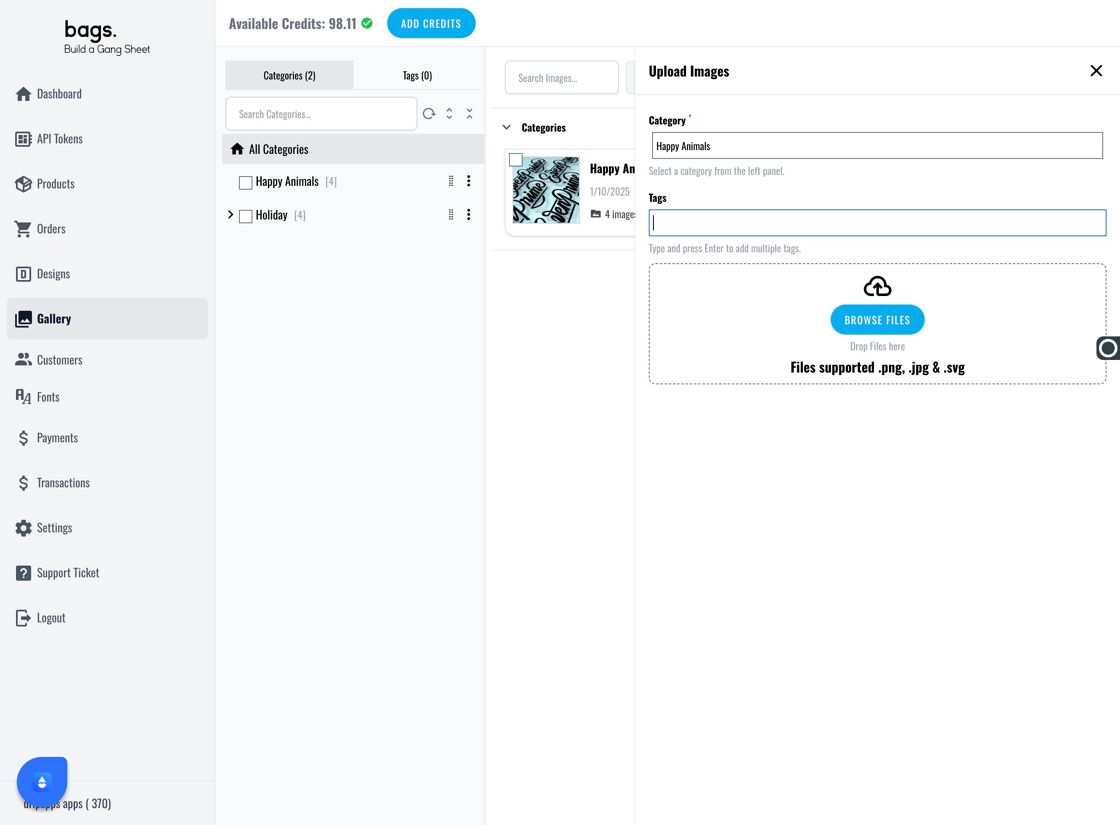
Add Images to Categories – Click Add Images , choose your category, and apply relevant tags to the designs.
Add Images to Category
Select Category
Add Tags to Image
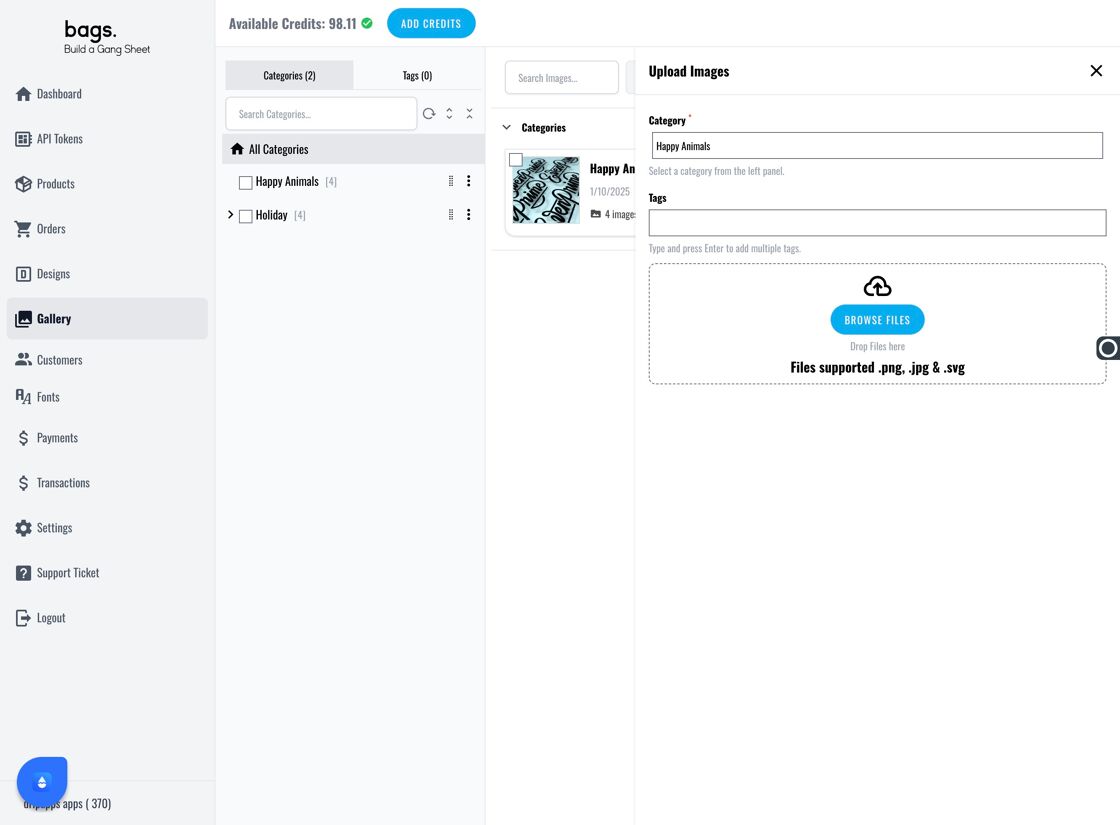
Bulk Upload Images – Use the Browse Files button to upload up to 100 images at once. The platform supports unlimited data.
Upload 100 Images at a Time
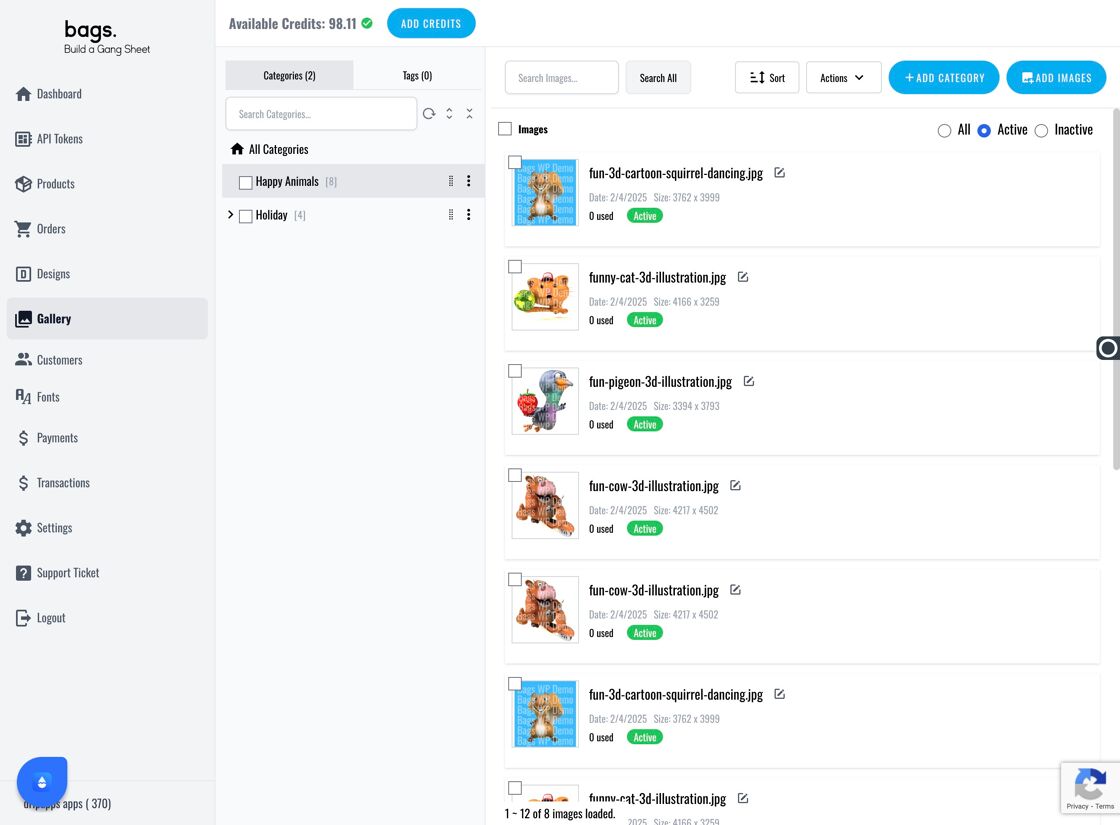
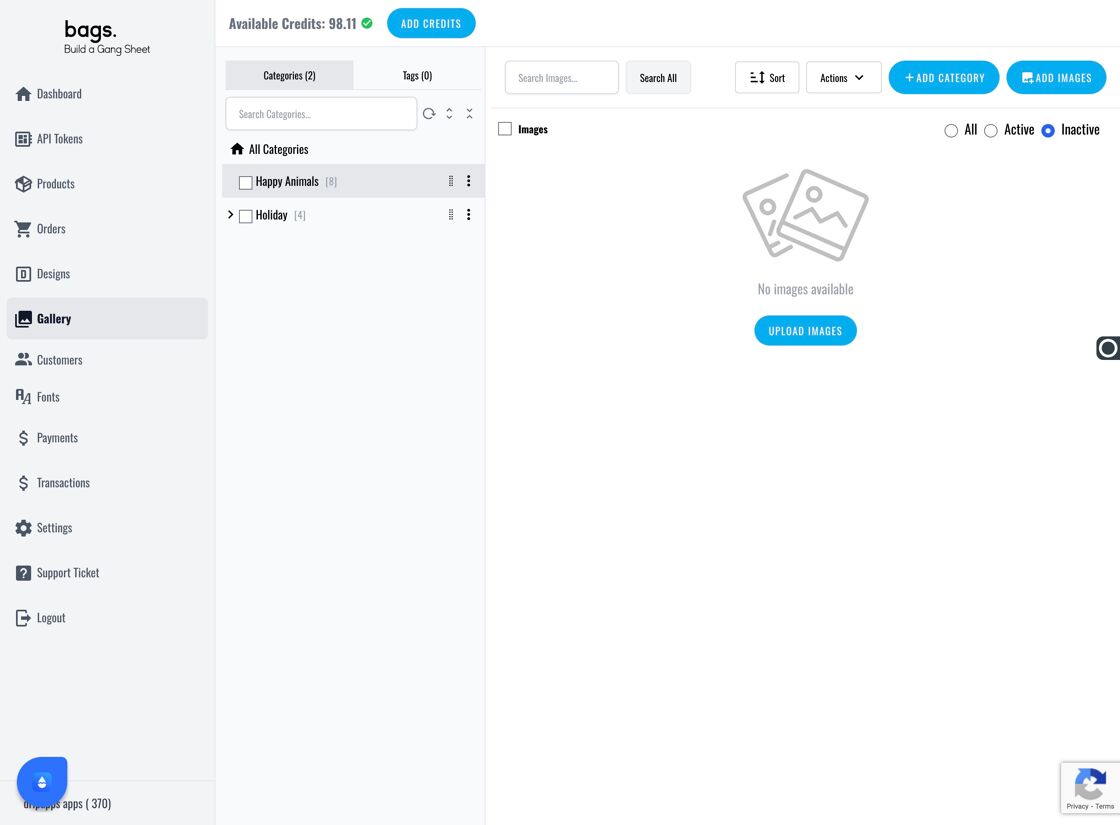
View and Organize Uploaded Designs – You can now view your designs under their category, filter them by Active , Inactive , or All , and use various tools to manage them.
Category View
Image Filter Options
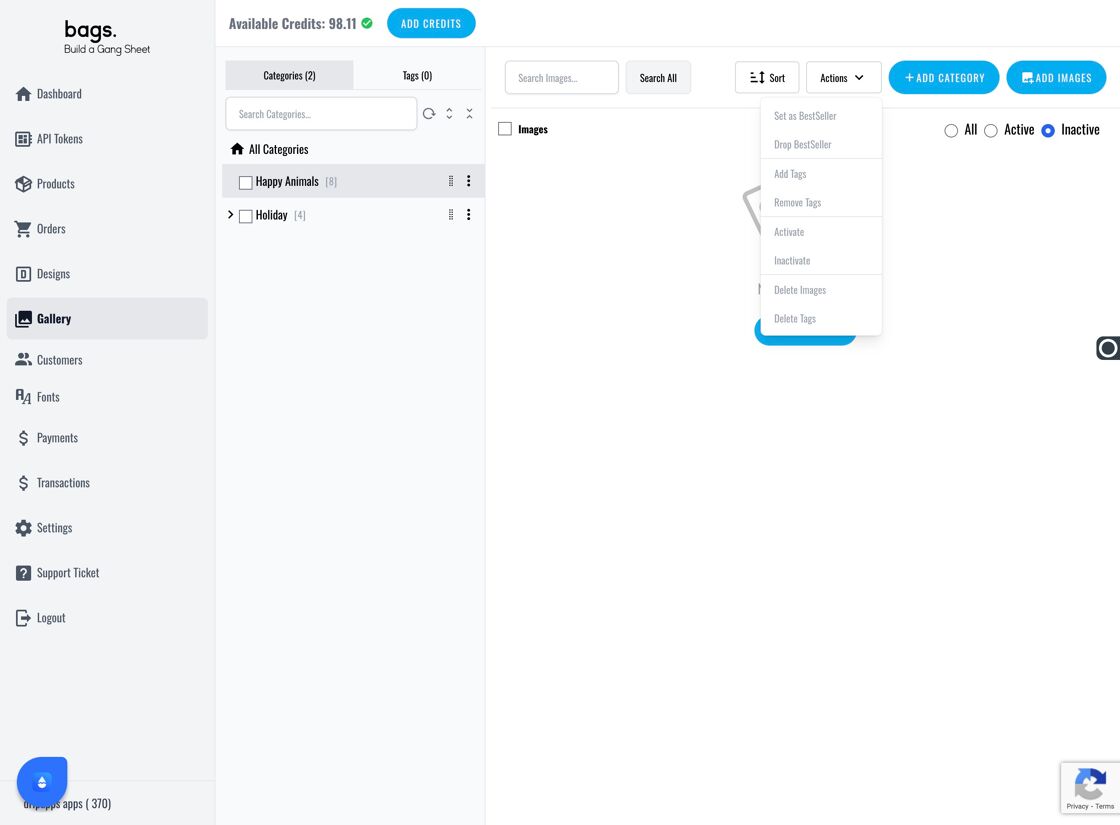
Use Actions Panel – The Actions dropdown allows you to: - Set or drop bestseller - Add/remove tags - Activate/inactivate images - Delete images or tags
Image Actions Menu
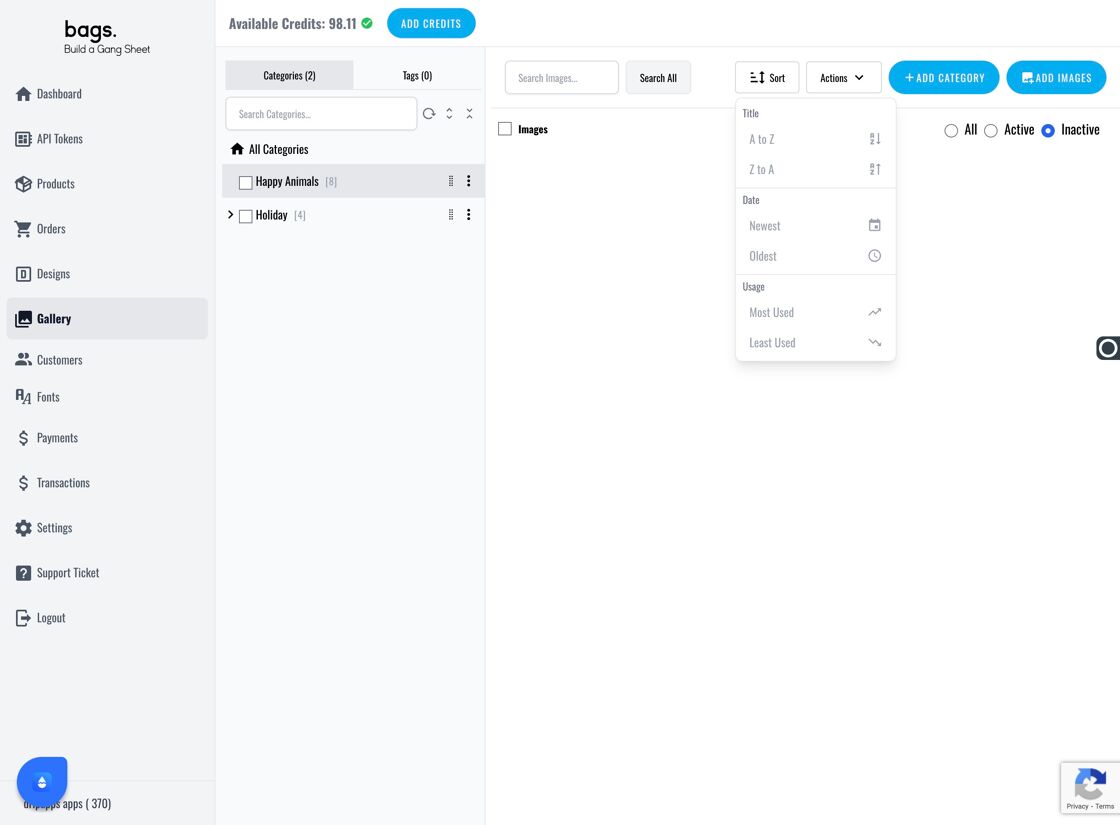
Sort and Search – Use Sort to reorganize image order, or search via the Search Images... bar.
Sort Images
Search Image Field
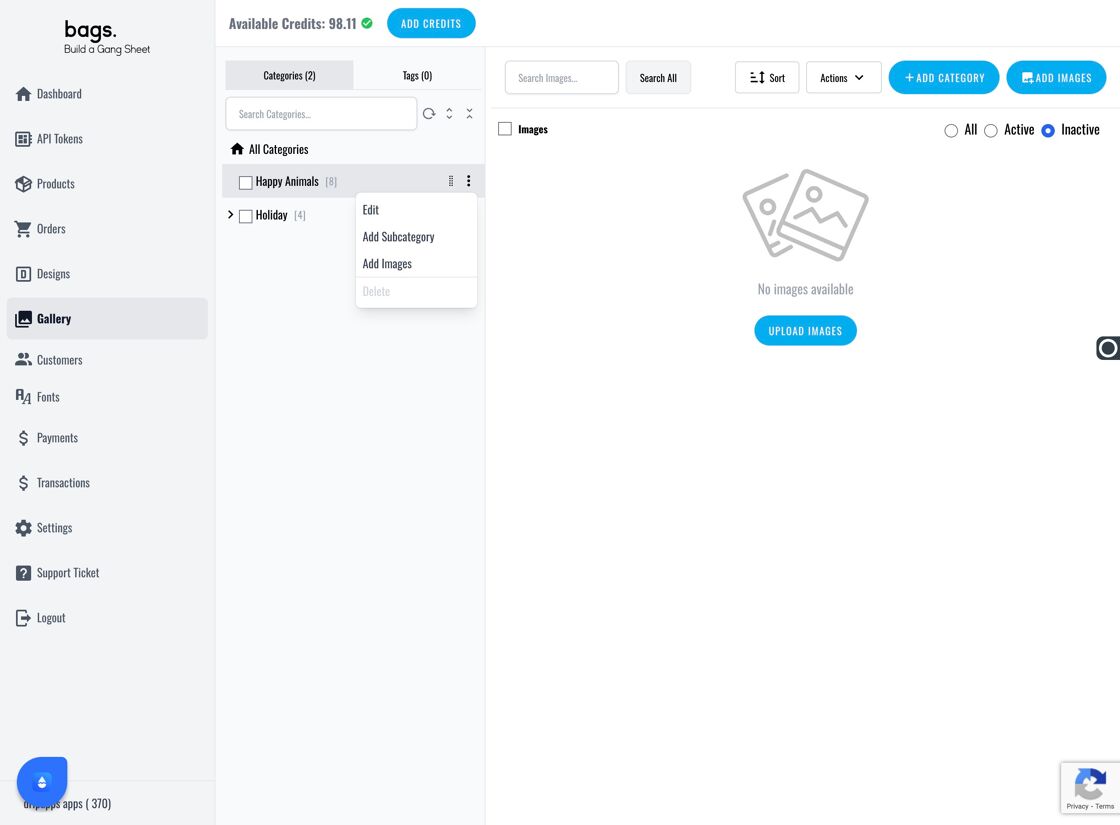
Edit Categories – Click the three dots on a category to edit, add subcategories, or upload more images to that category.
Edit Category Options
Add Subcategory or Images
Search by Tags – You can also locate specific designs by searching for their associated tags.